Some of my winter projects this year were to build a
canvas hot tent, a compact packable wood burning stove and a HDPE toboggan,
hopefully we’ll get a decent winter and I actually get to use them. Working
with a friend we've recycled a used BCT canvas A-frame tent, made in Bradford,
and have modded it with a decent snow sodcloth, vents, extra side tie outs, new
poles and eventually a stove jack, I’ll show all that later.
The whole hot tenting idea came from watching some videos
on Youtube and suffering a hole in my lavvu on recent trip. I figured I do a
lot of my camping in areas with mostly coniferous trees, softwood tends to
throw sparks a lot and I didn’t want to ruin my lavvu any more. The canvas tent
looked like a great solution and if I could find one at a good price it should
be easy enough to adapt. Luckily for me Ian had both a suitable donor tent and
the sewing skills to carry out all the mods I had in mind. So that was that
sorted but I still wanted a stove which was more compact than my Helsport lavvu
stove, the Helsport is a fantastic bit of kit but it’s tall and quite a weight
at around 10kg, I think. The idea is to load the canvas tent and wood stove onto
a 10ft HDPE toboggan, the Helsport is too tall and too heavy to be practical on
a sled, no bother in the canoe though. I’d
seen the Snowtrekker stoves but after enquiring about shipping from the US it
was going to be more than I could afford, I watched some DIY stove vids on
Youtube and thought about trying the large ammo box types. I looked at the dimensions
on all those I could find on ebay and the surplus sites but none of them really
worked, I had something in mind around 20” long by 10” high and wide. I’m not
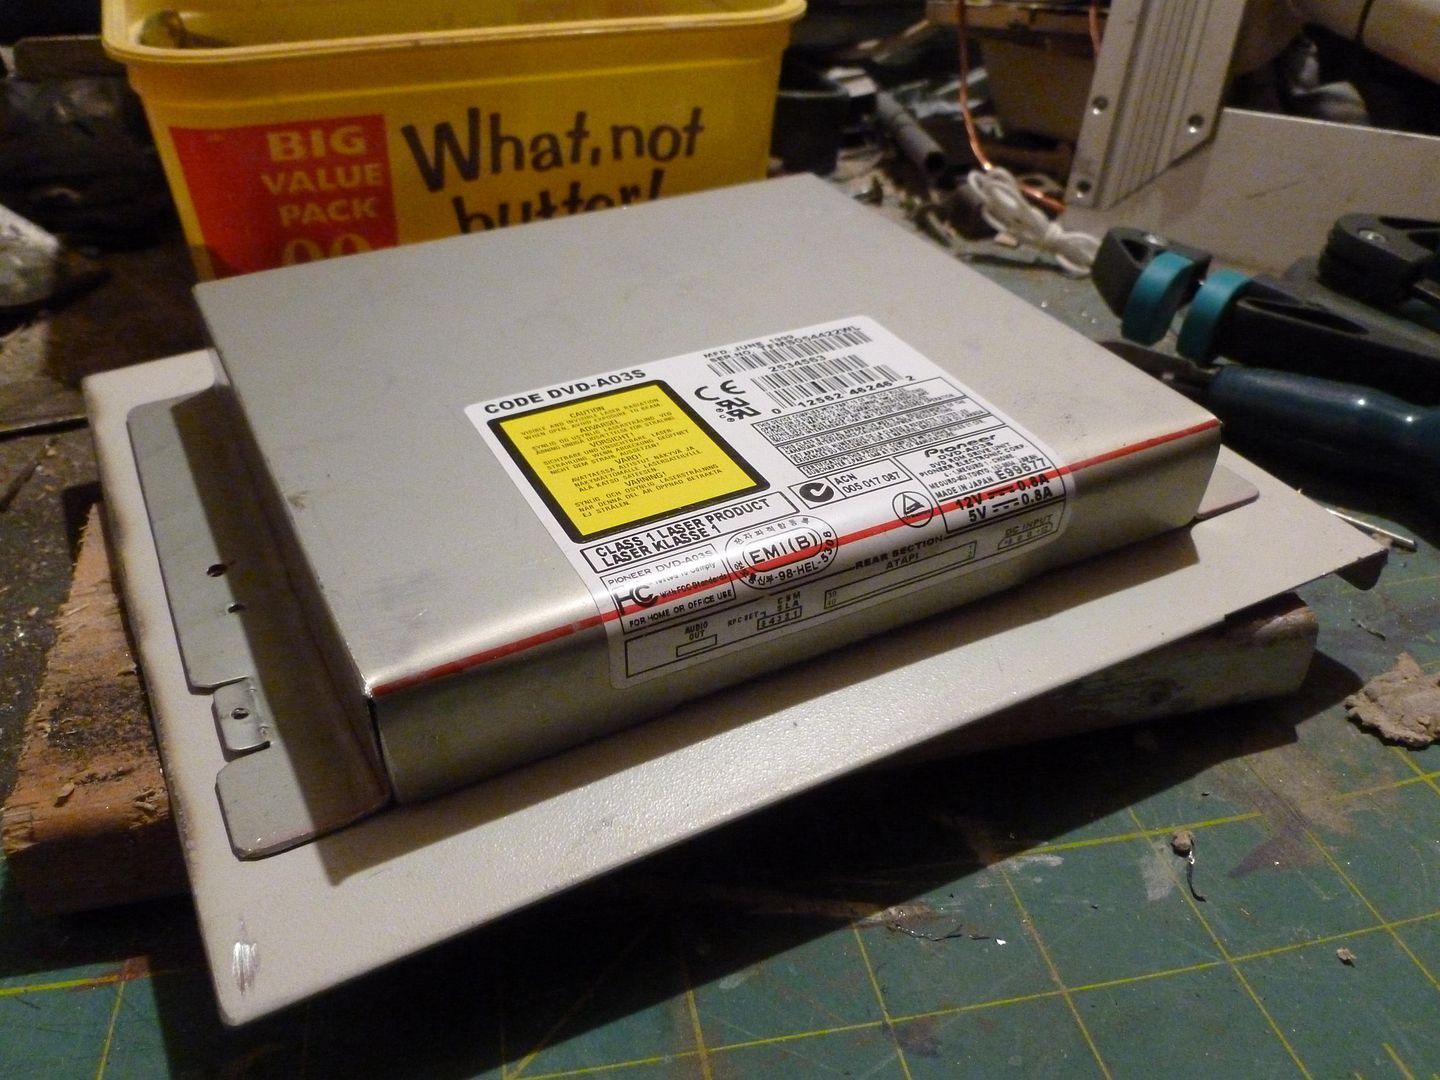
sure why, maybe I’d read it somewhere before, but I saw an old PC in the spare
room one day and straight away saw it’s new potential.
I’ll share some pics of how it went, just in case anyone
fancies putting an old dusty PC to use.
Sorry Dad if you see this, the PC has been kaput for
years, the PSU and motherboard went so it was destined for a skip one day. I’ve
still got your hard drive and peripherals if you ever want them J
Oh yeah, I don't have any welding gear so it's all drilled
and stainless rivets throughout ..
Take one very old and poorly PC

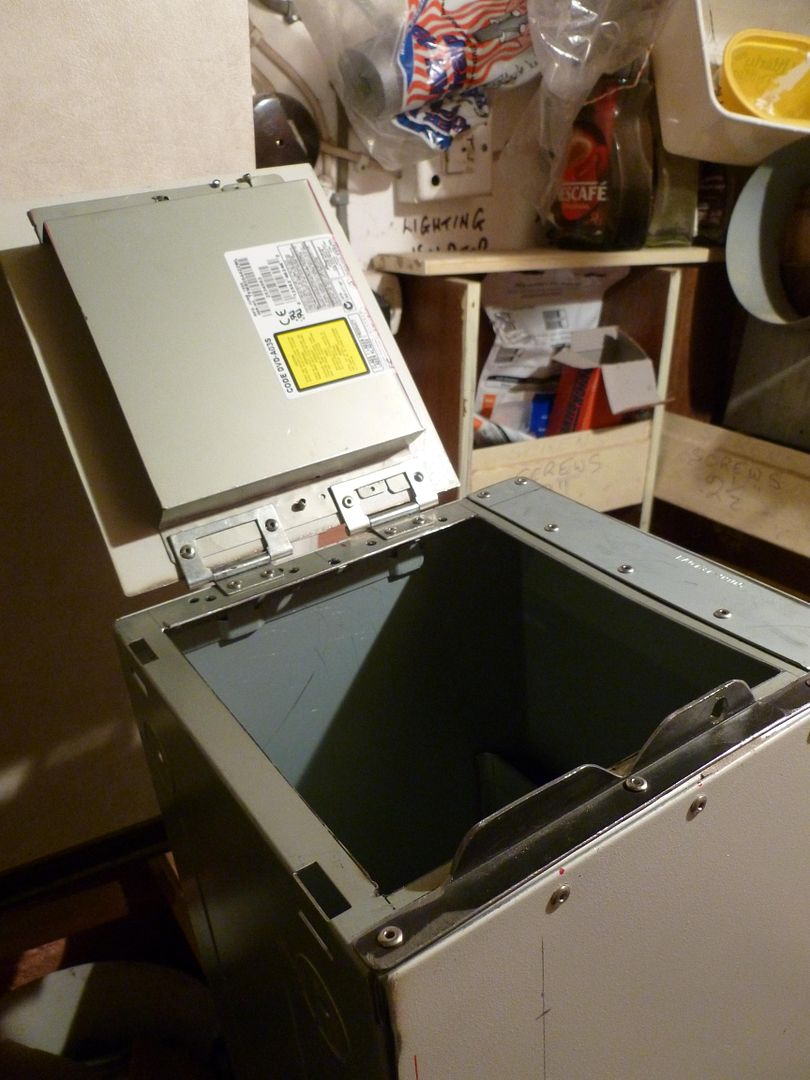
Rip all the guts out of it ..

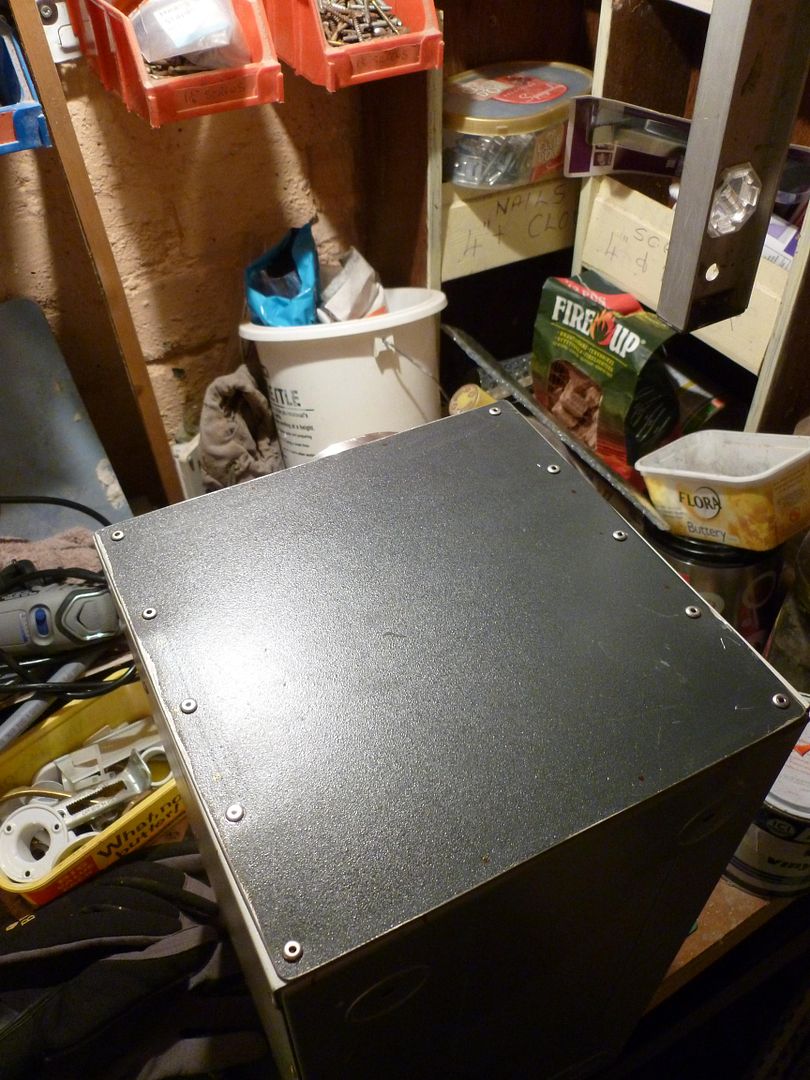
Leaving you with this ..

Wait two days for it to stop raining then take it outside
let loose with the angle grinder (you might want to look away now Dad)

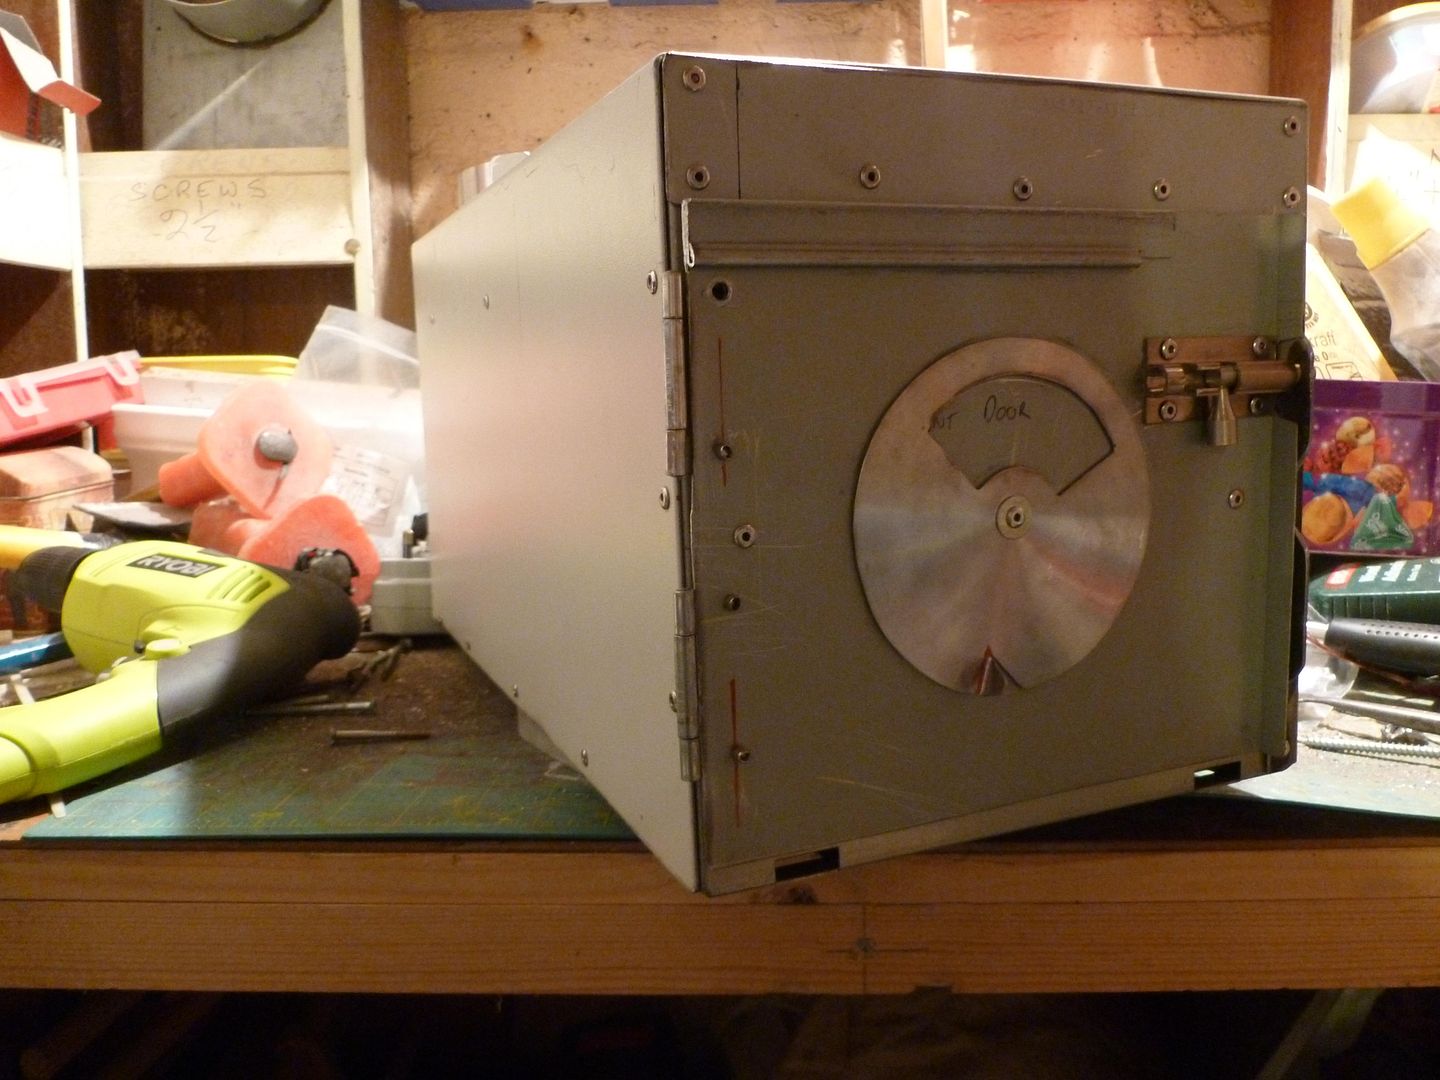
Back..

Front (it looks like it should be the other way round but
I have a plan) ..

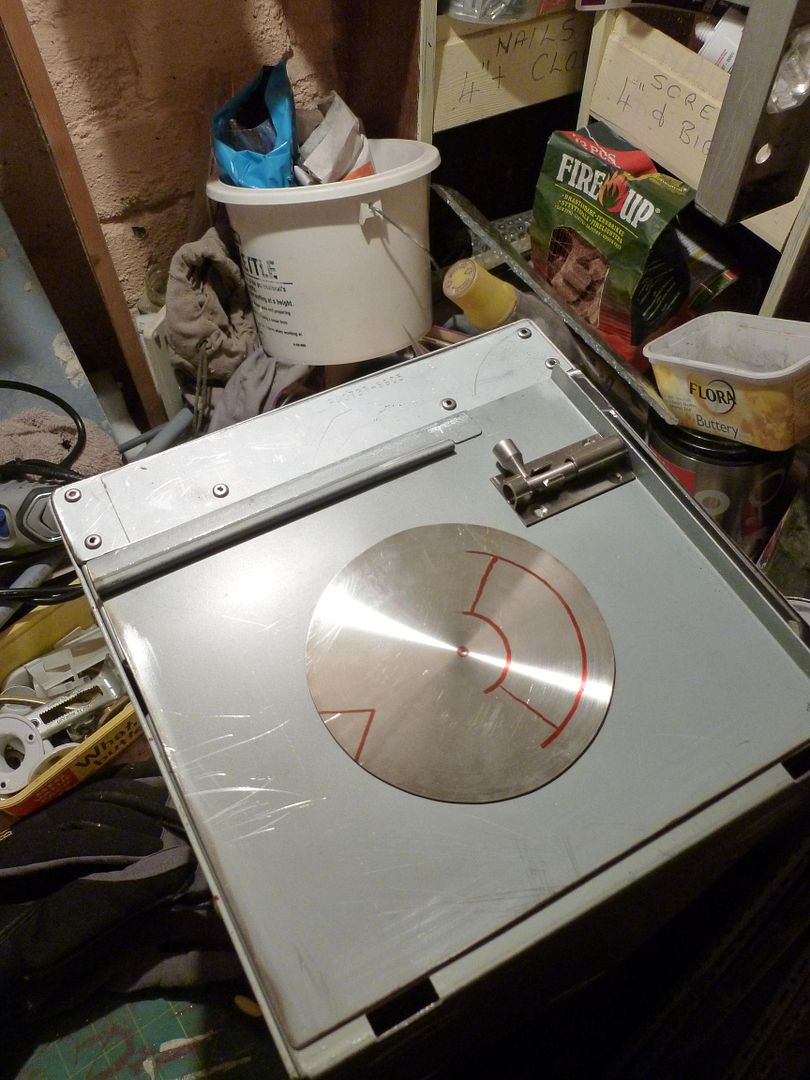
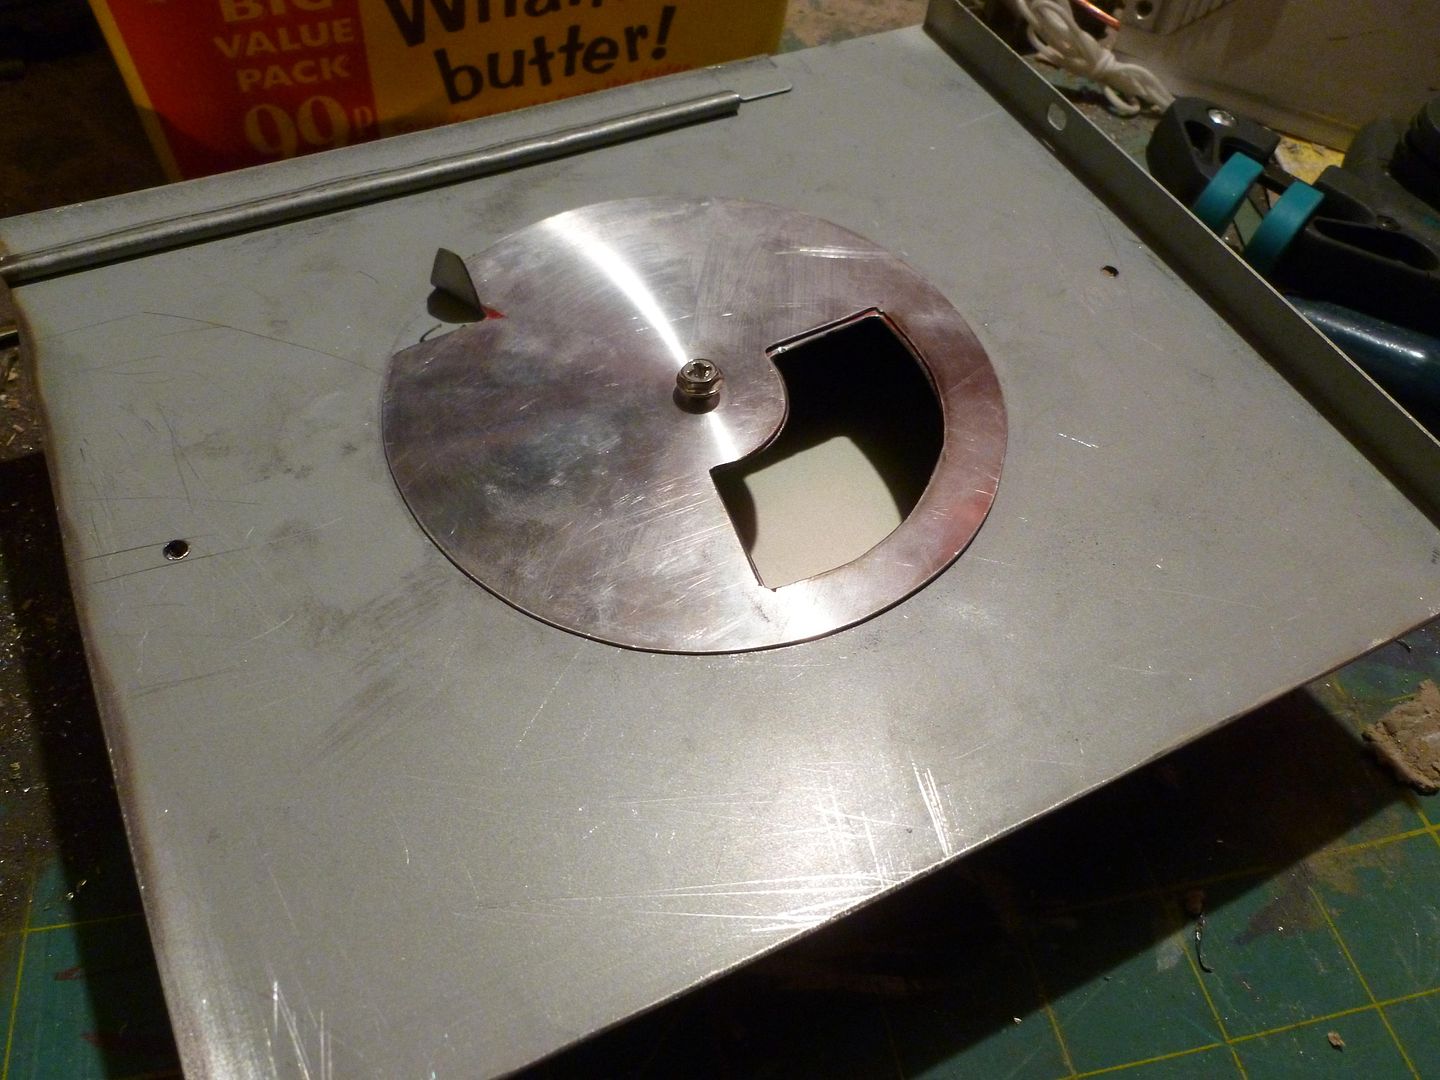
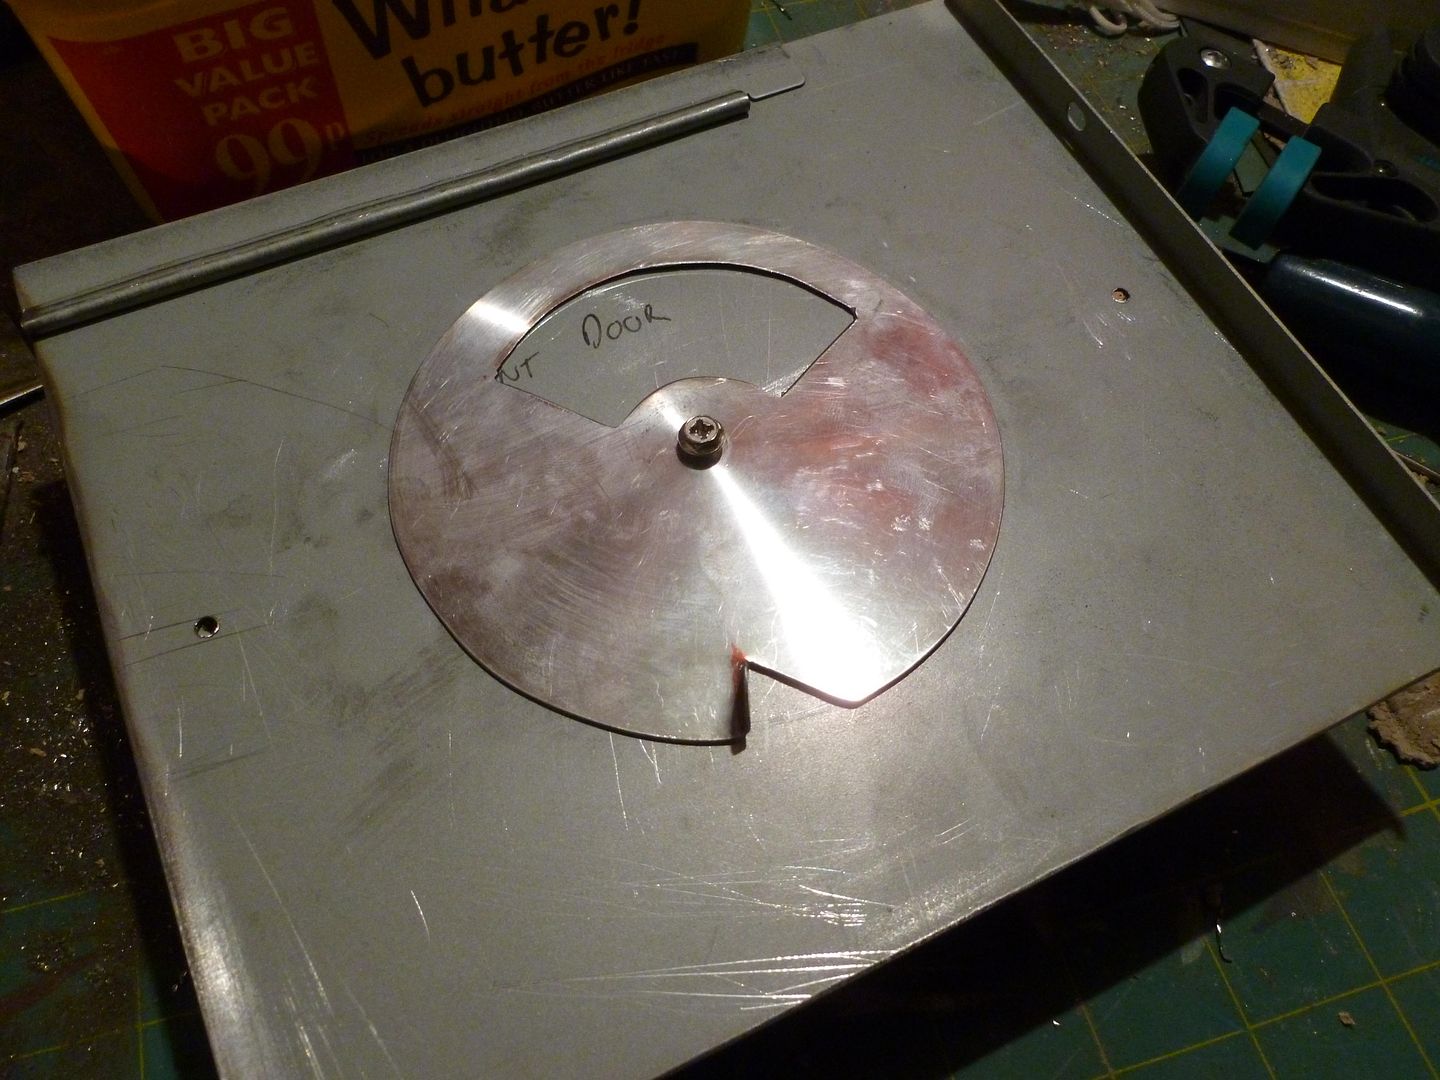
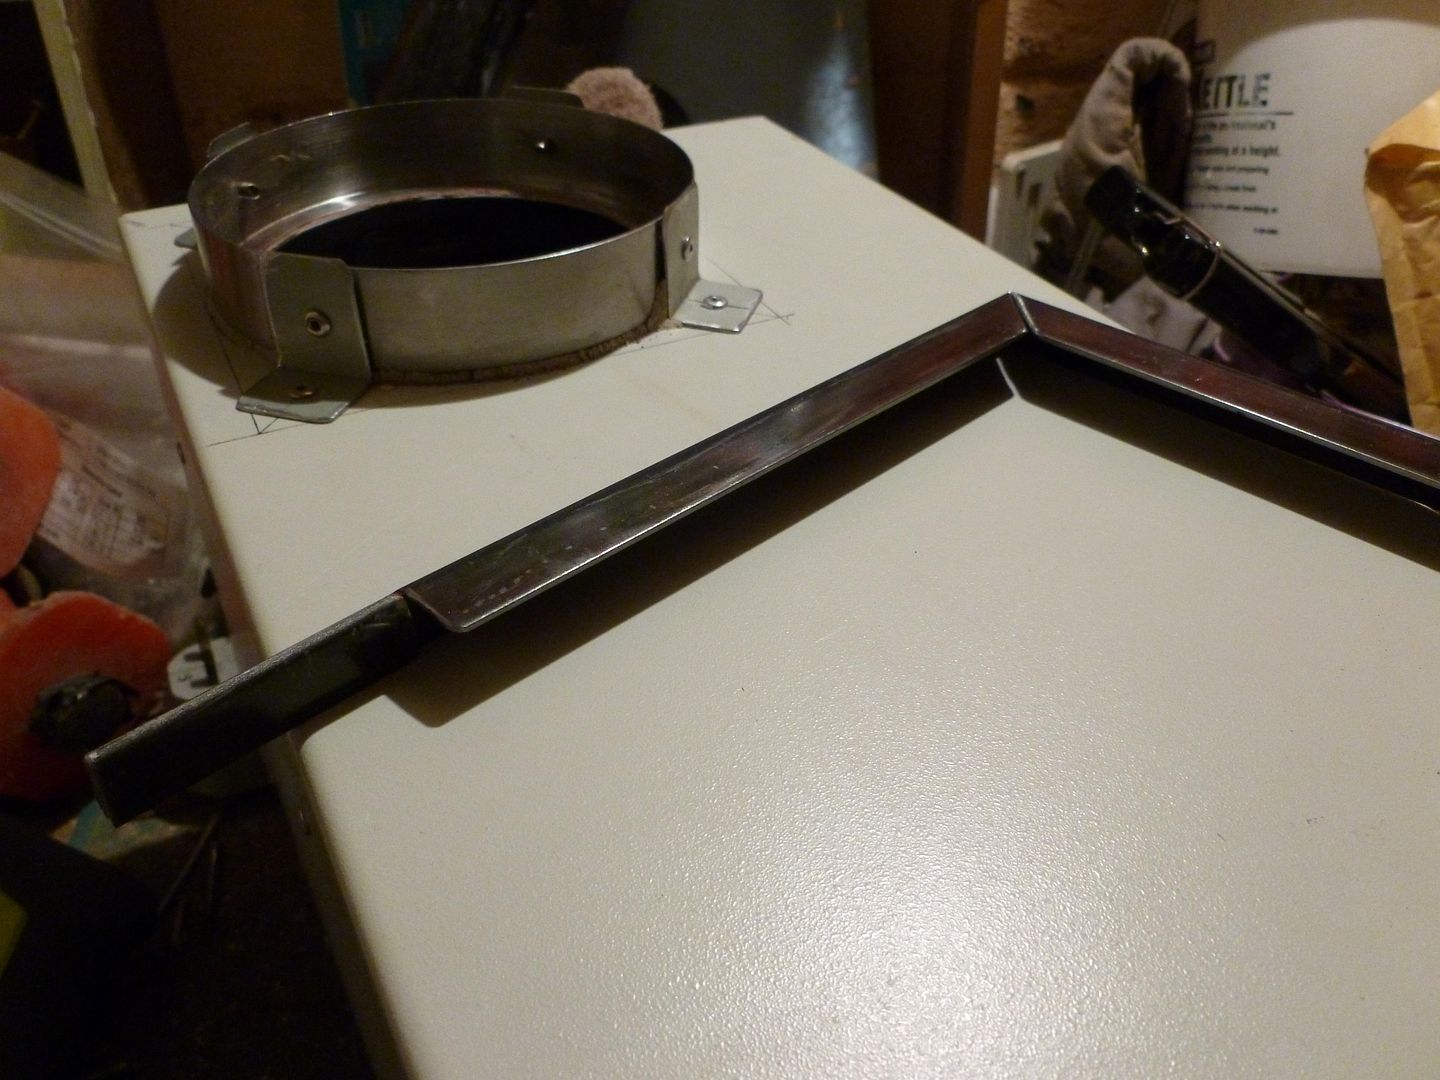
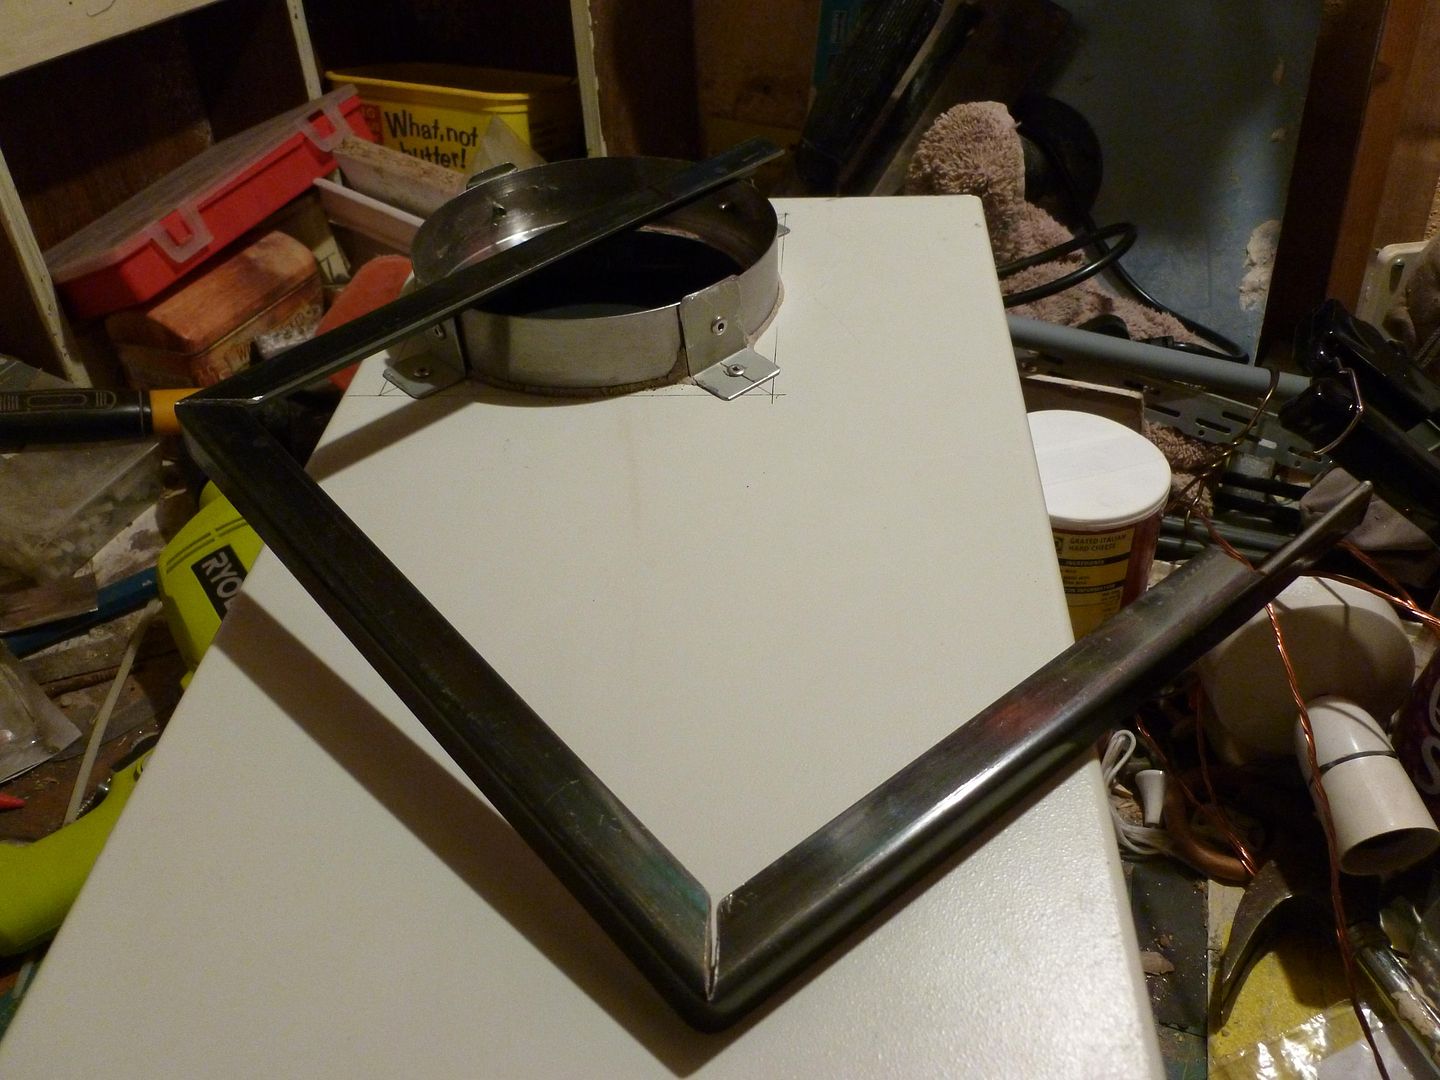
I managed to source some 5" stainless flue pipe
through a friend of a friend, so I hacked a big hole in the top of the PC/stove
and adapted a stainless can lid for a jack ..

A touch of fire cement around the seal for good measure
..

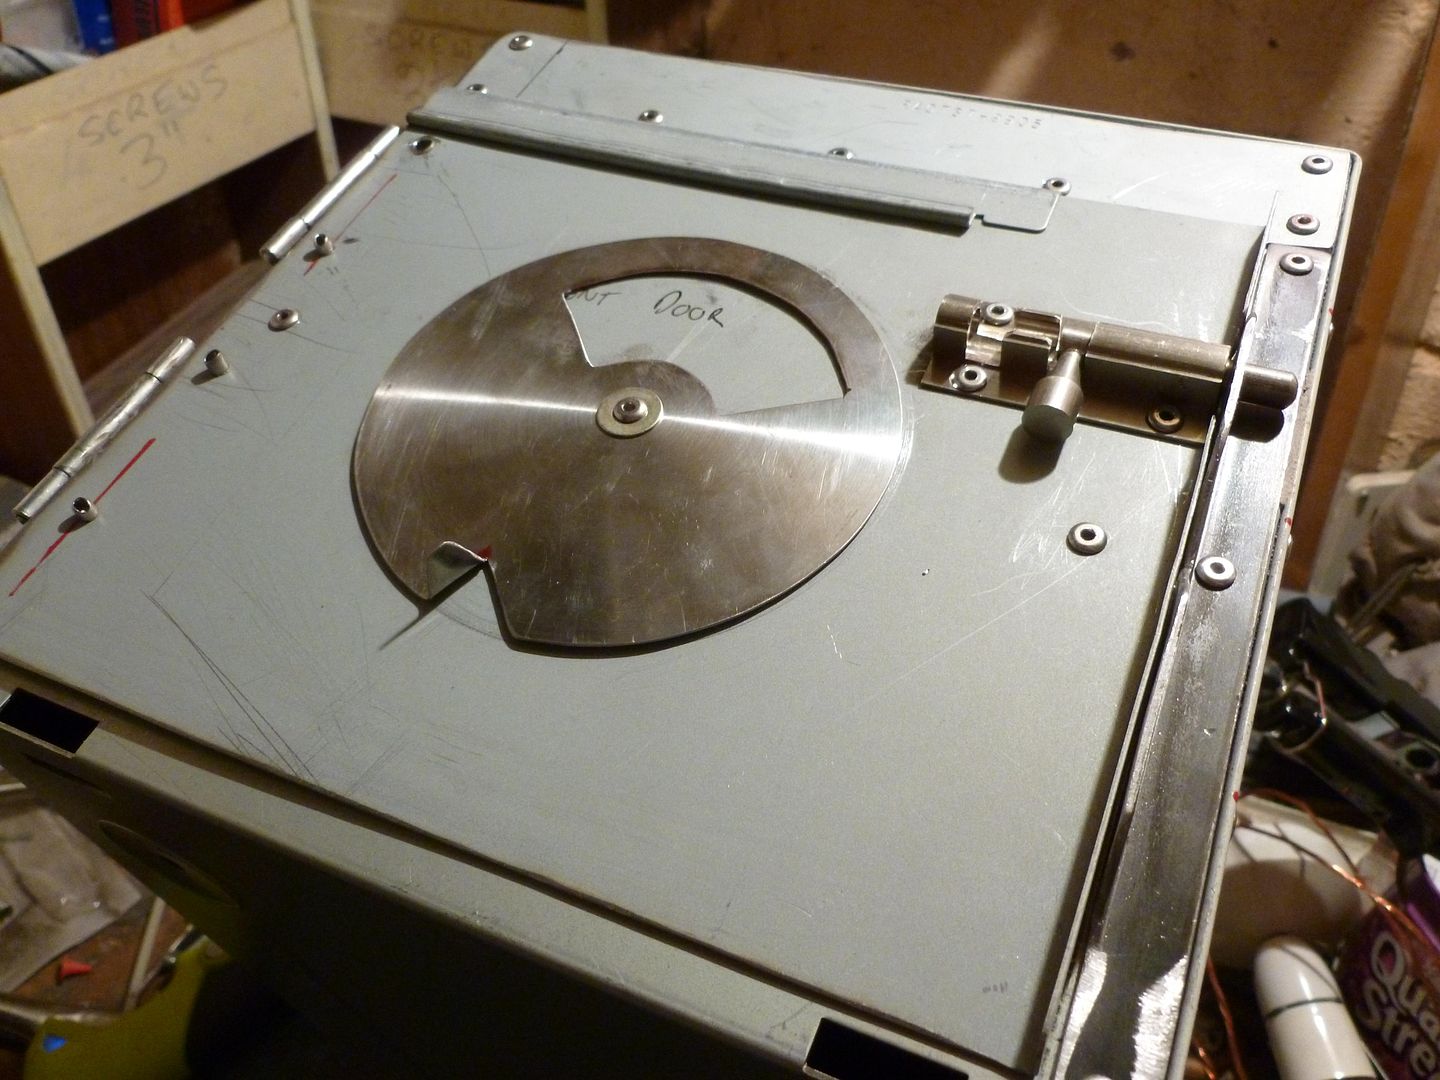
Front opened up for the door hatch, the rivets on the
side are for resting an internal baffle on so the flames and heat don't shoot
straight up the flue ..

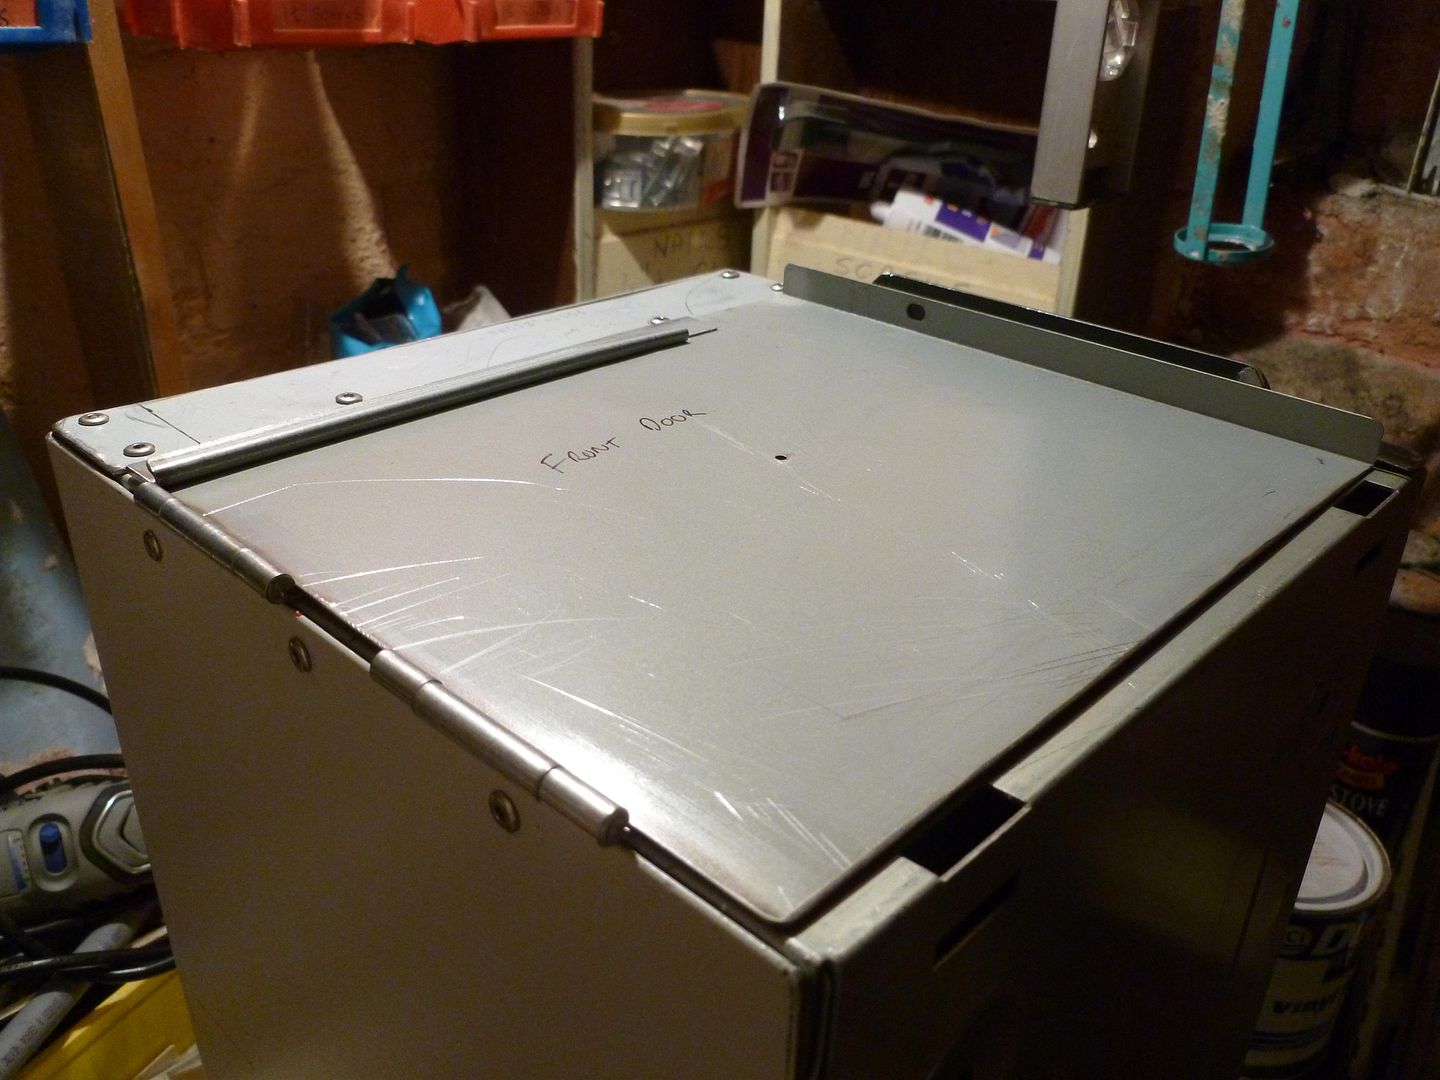
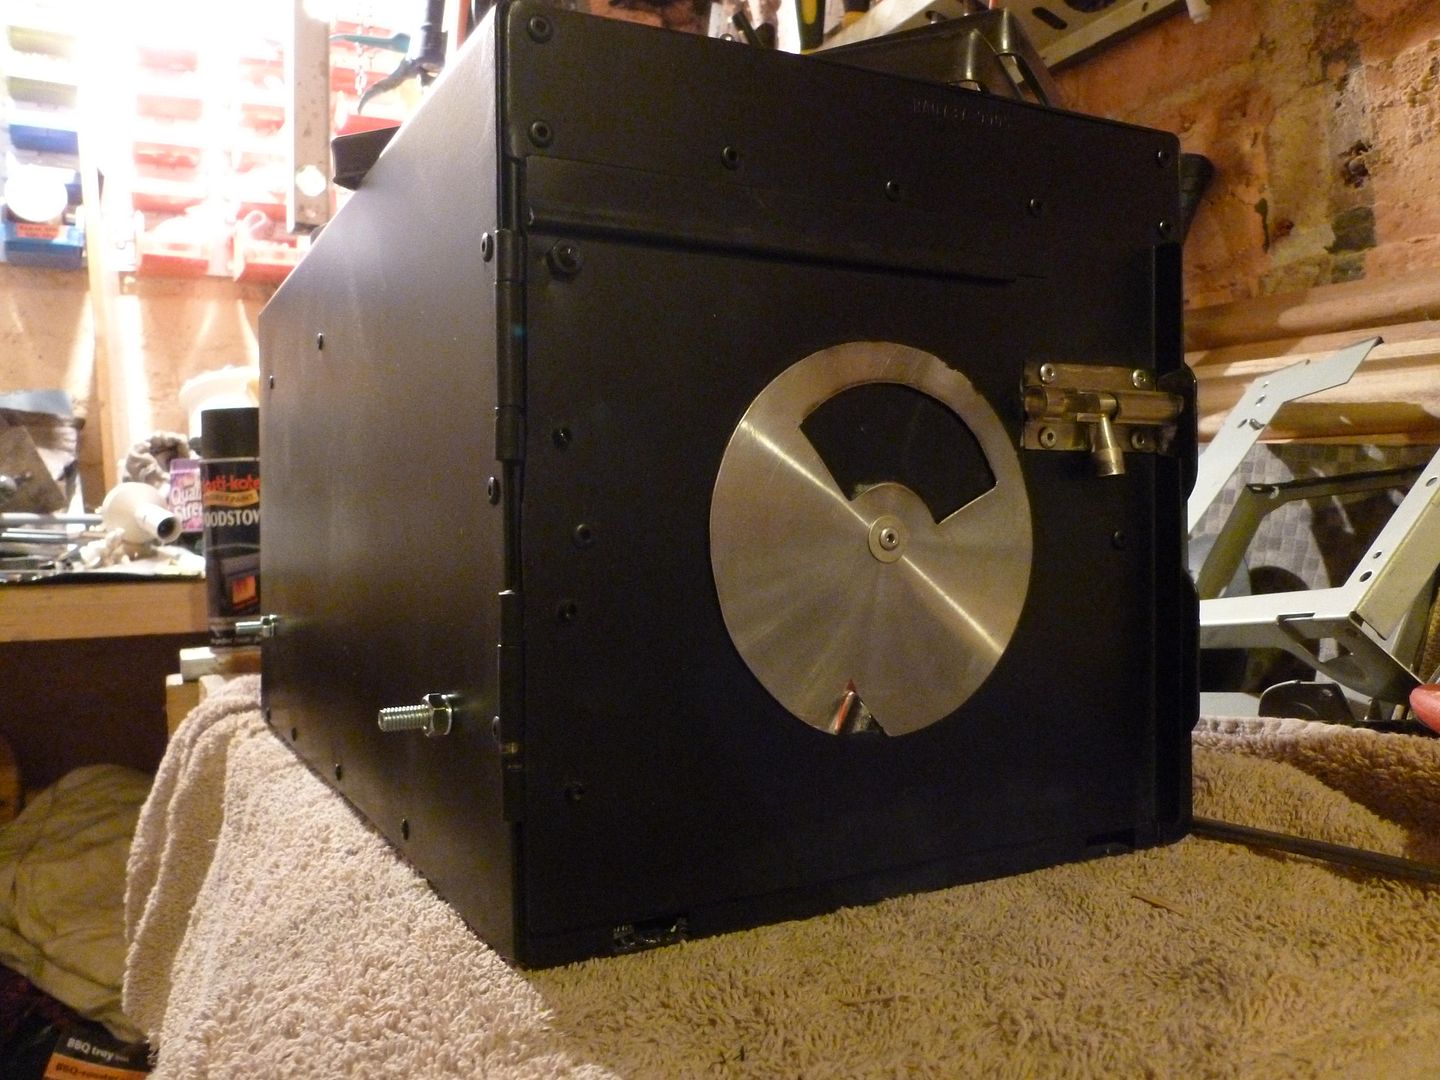
Back plate on ..
Front top plate fixed, dry run with door, latch and
damper plate ..
Choosing hinges ..
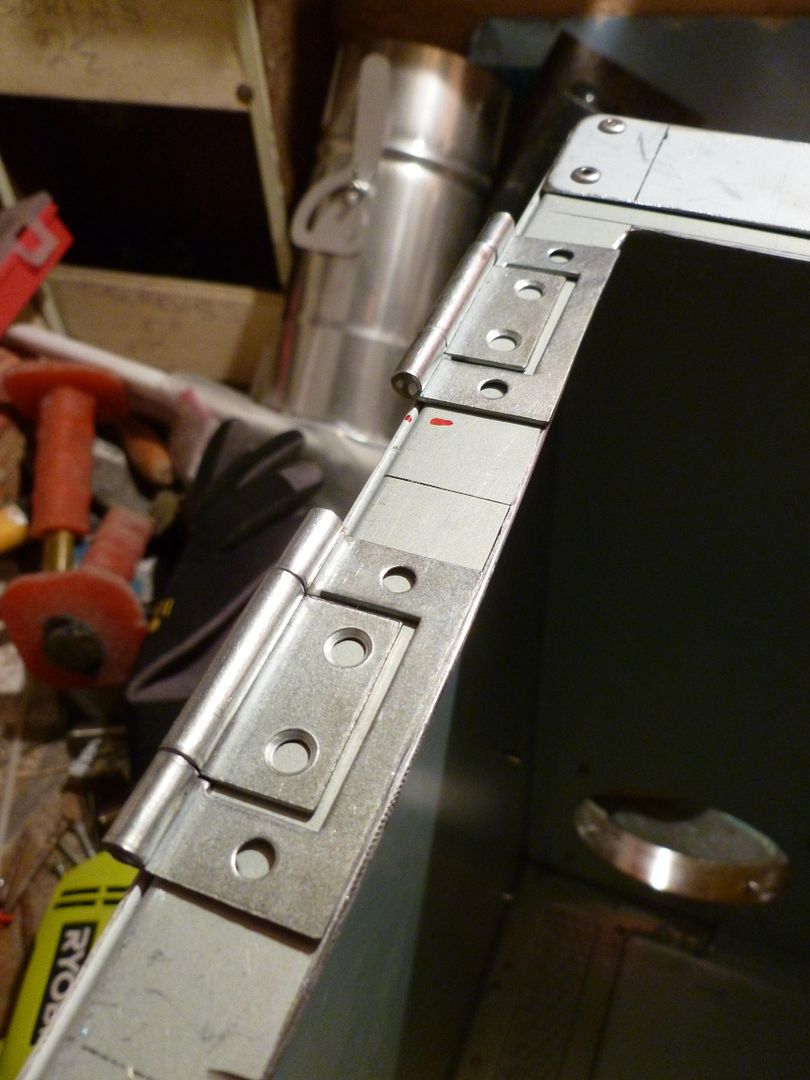
They'll do nicely ..
Front damper cut ..
Closed ..
Door baffle ..
Door on ..
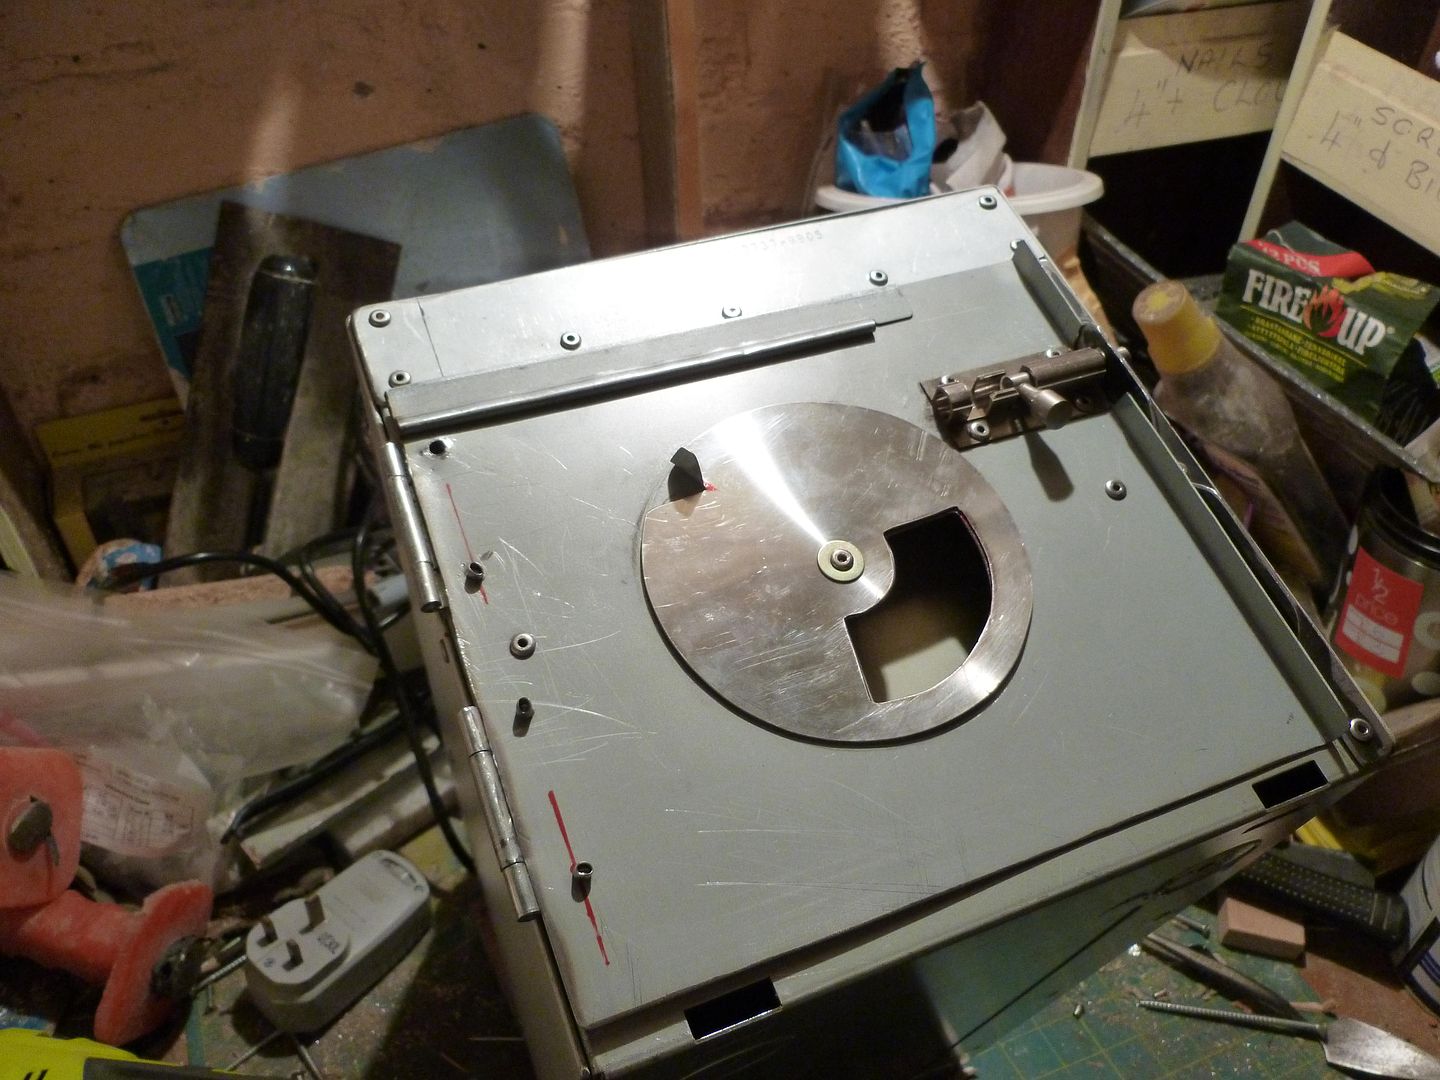
View of internal baffle through flue exit ..

Almost ready for the Nitromors and then stove paint
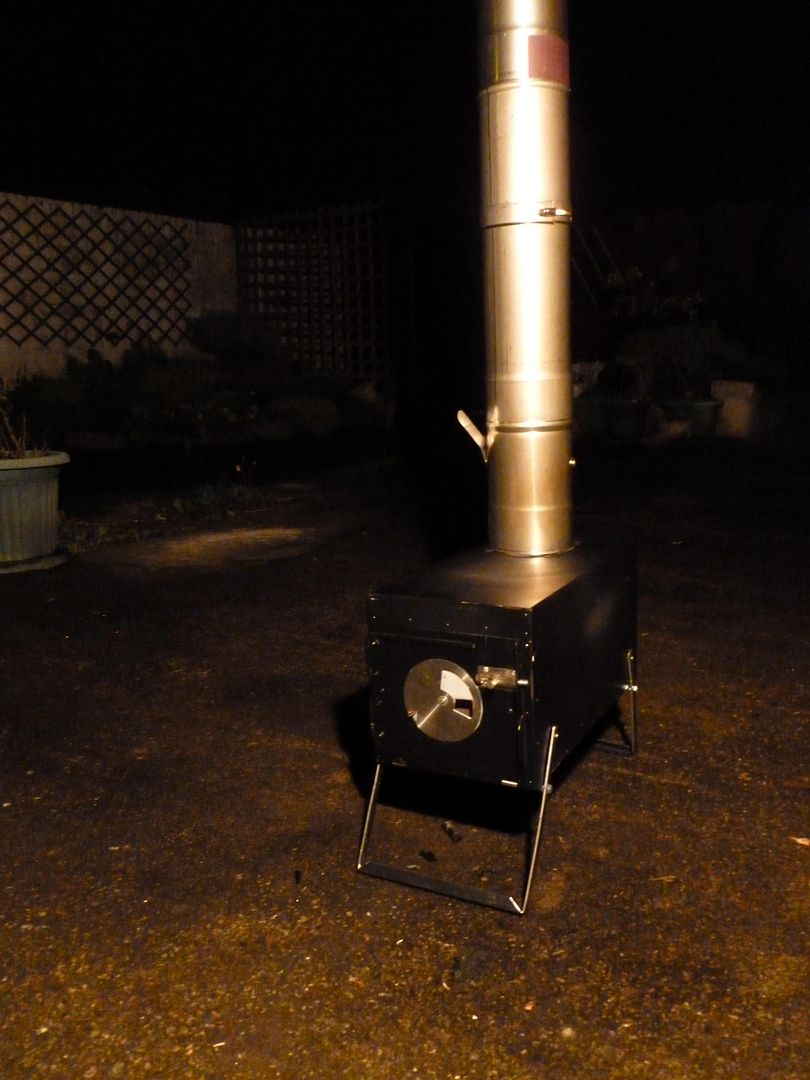
Just on with the legs and then I should be testing
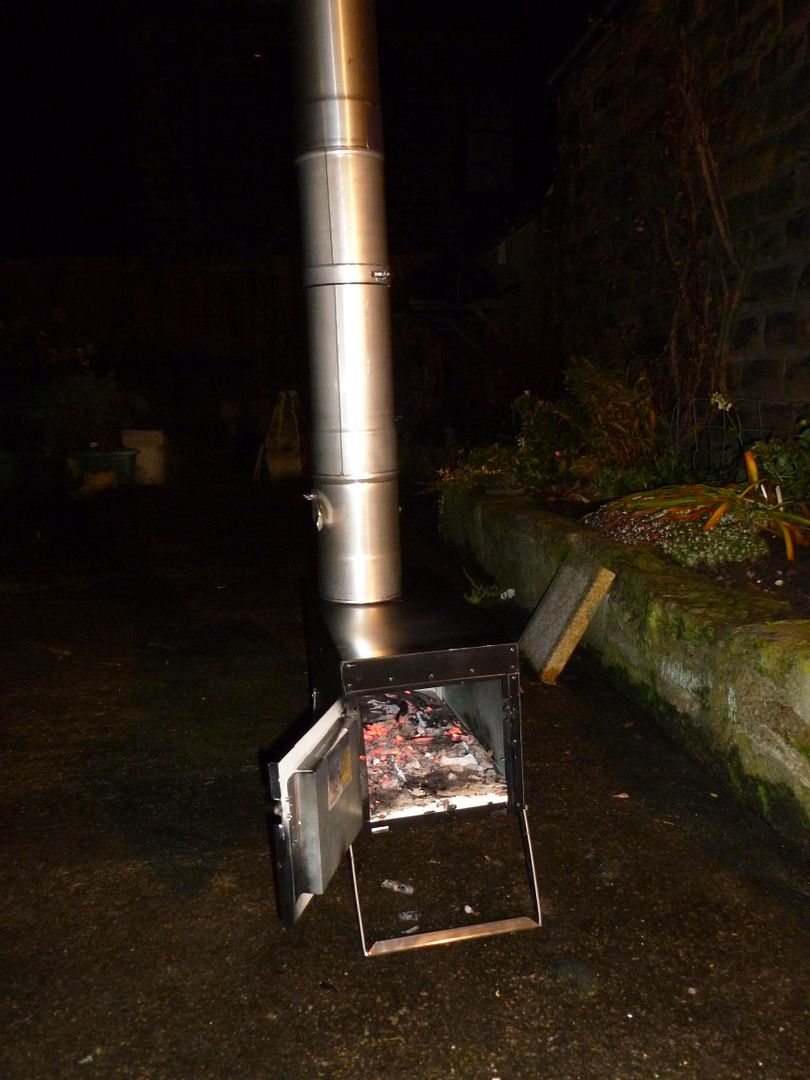
Ready to burn ..
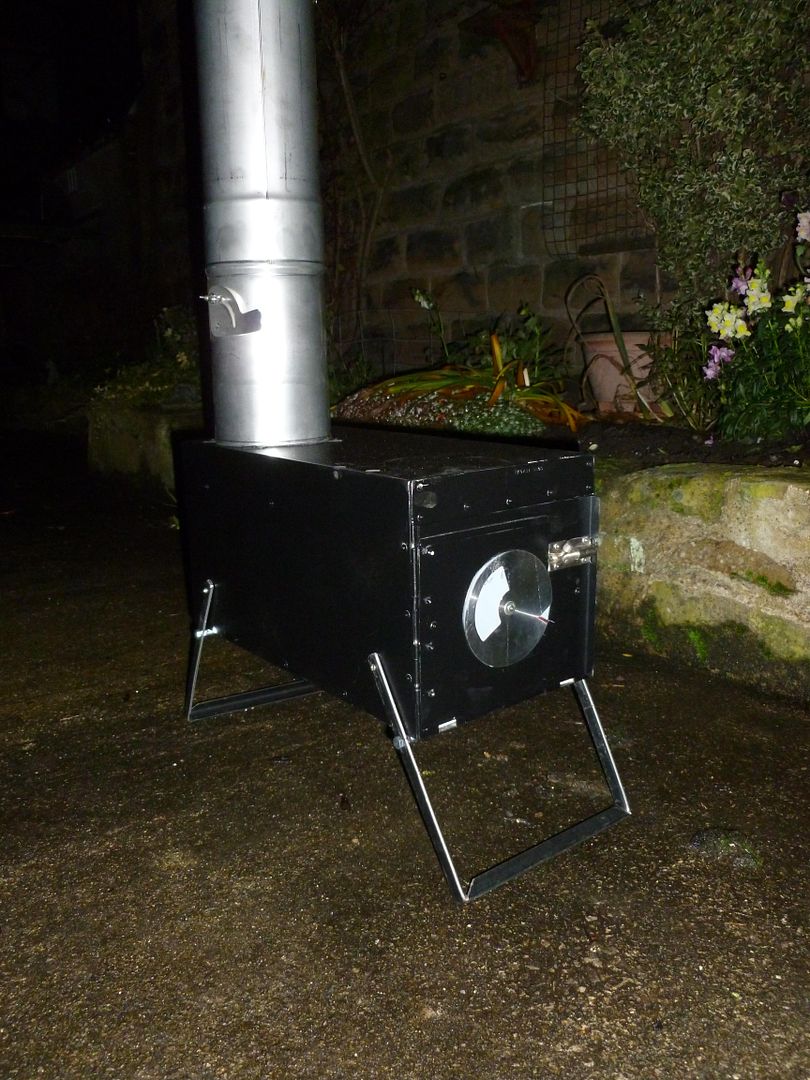
Front legs set lower than back to encourage draw and
avoid a tent full of smoke ..
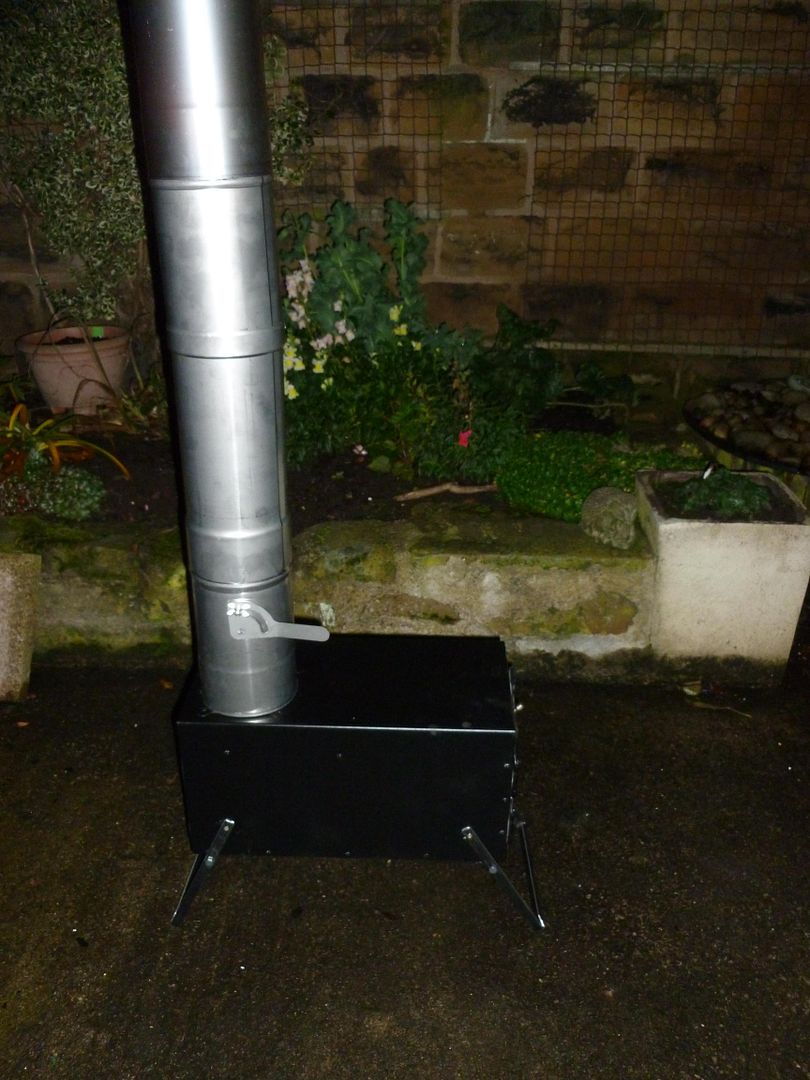
Smoking paint and a gap showing, I'll fix that with some
angle iron at some point ..
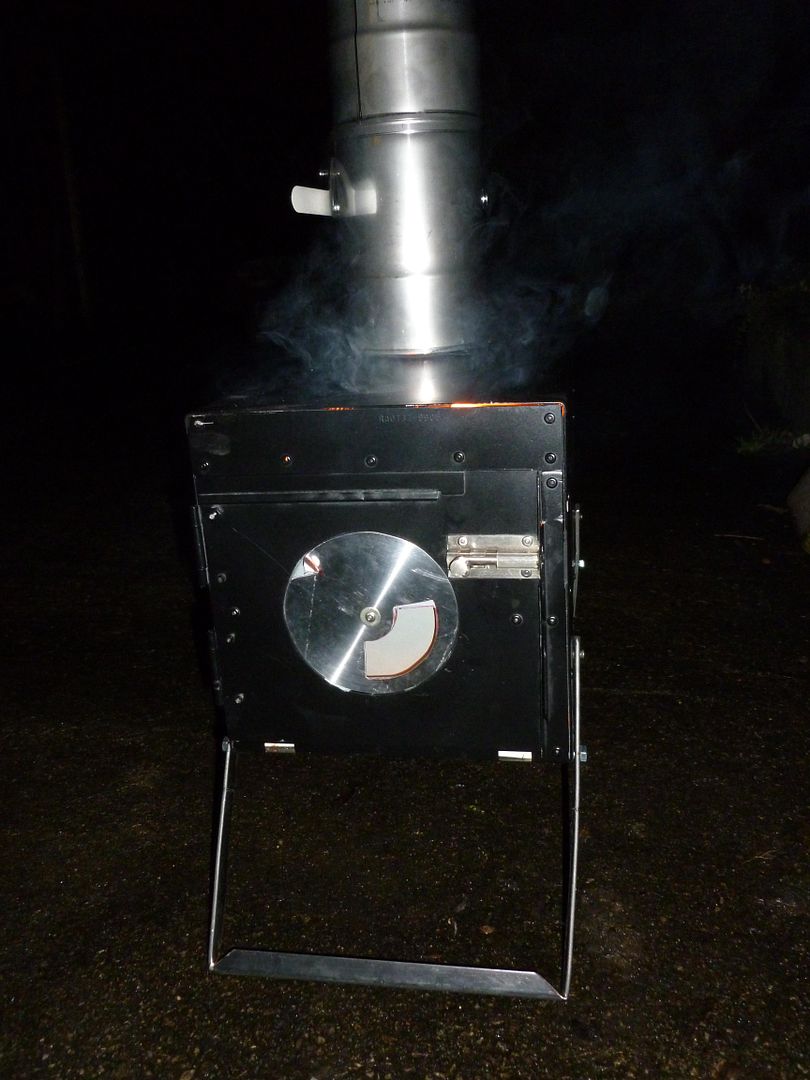
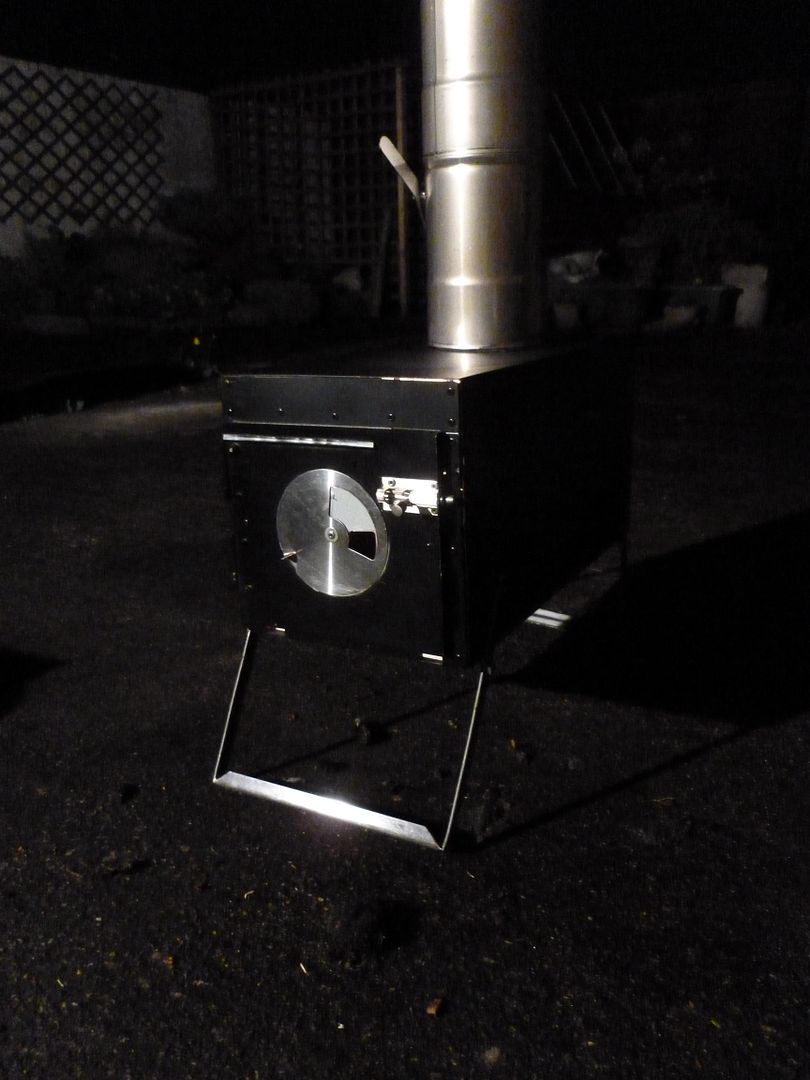
Chugging away ..

This one came out kind of monochrome for some reason ..
Hardwood burning nicely ..
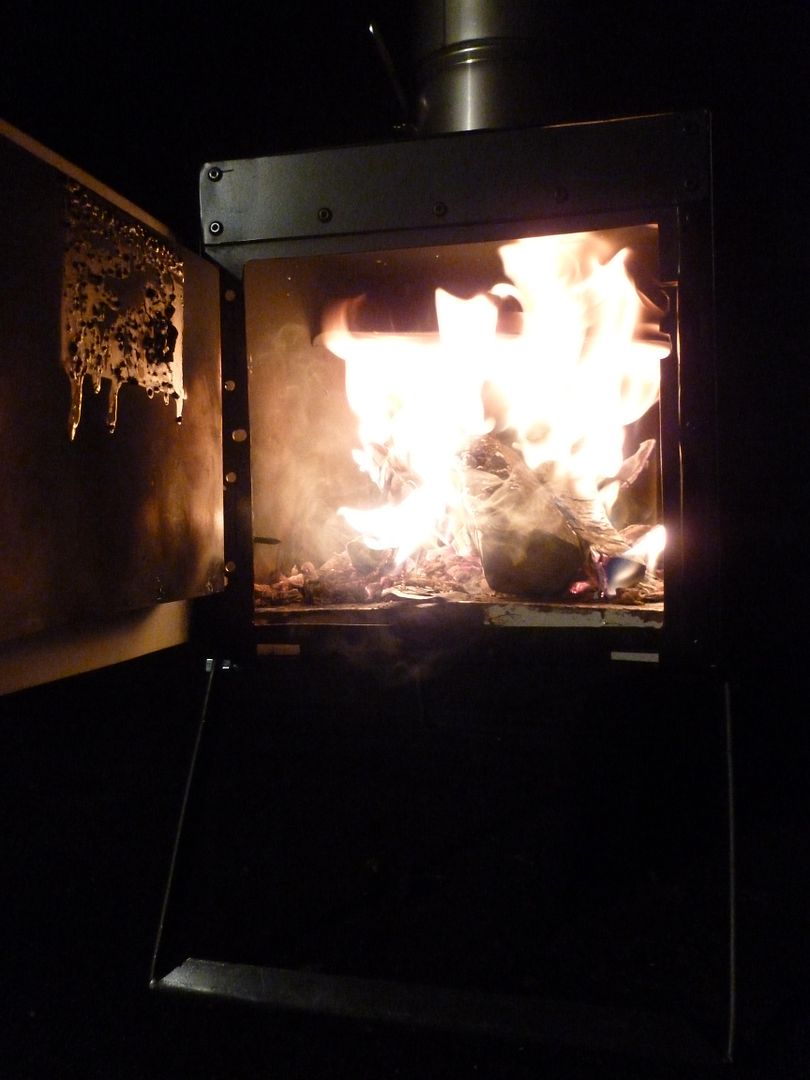
Smoke drawing well ..
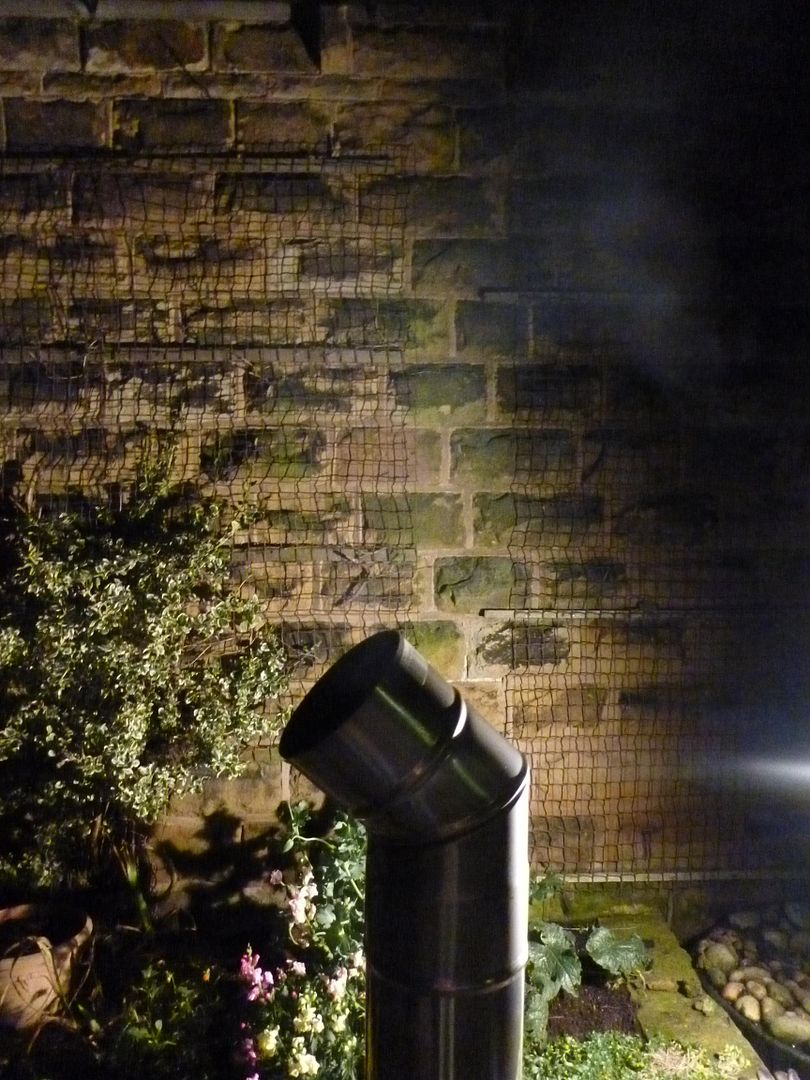
Flue damper ..
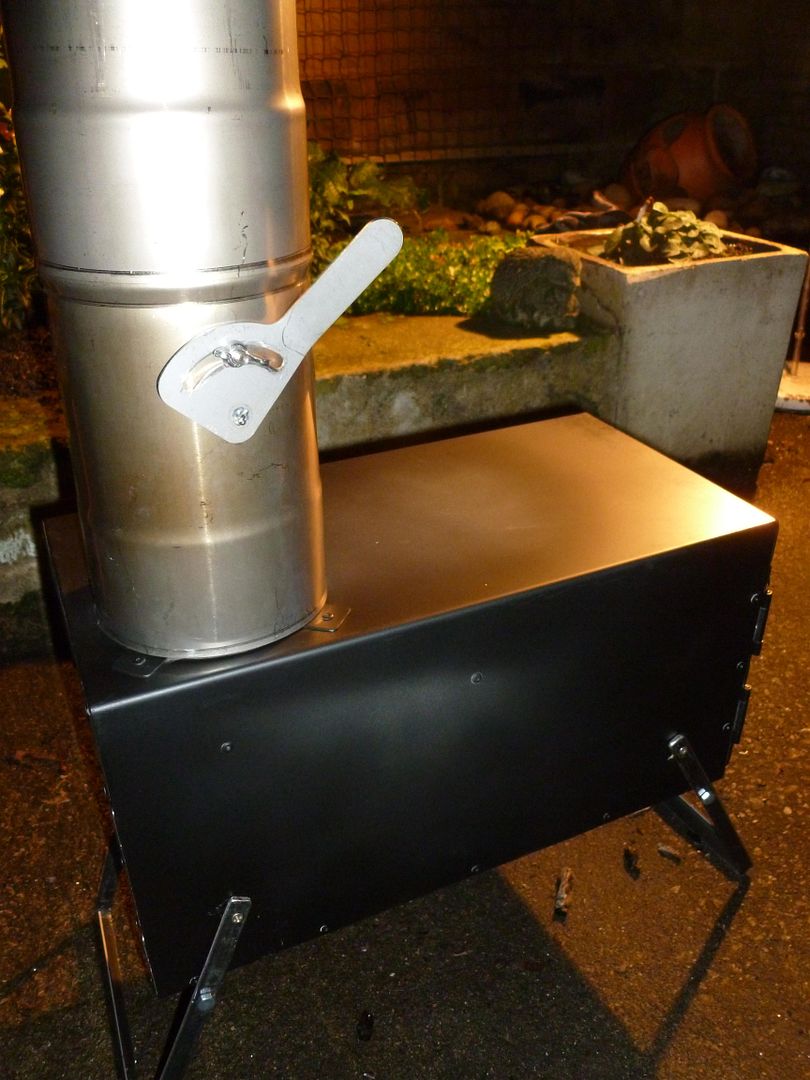
In the tent I'll configure the flue differently with the
adjustable elbow much lower down, the flue will exit a side wall rather than
the top like a lavvu, the pipe will be supported by two crossed sticks and a
wrap of wire. We'll see how the stove fits in the tent and take the
measurements for the jack piece. I'm still undecided about where to put the
stove in the tent, whether to put it by the door on one side like the
Snowtrekkers, or to tuck it away back centre.
Bolts from the inside, locking washer and nut on the
outside ..

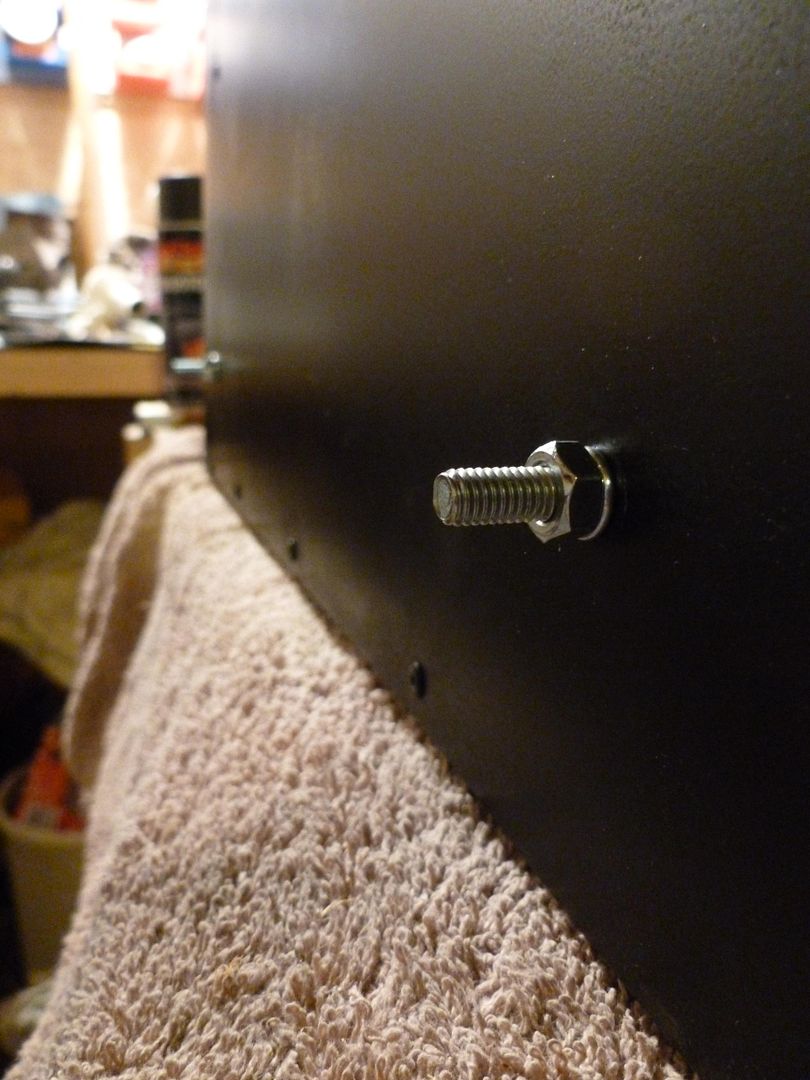
Legs slip onto bolts ..
Wing nuts on next and then tighten ..
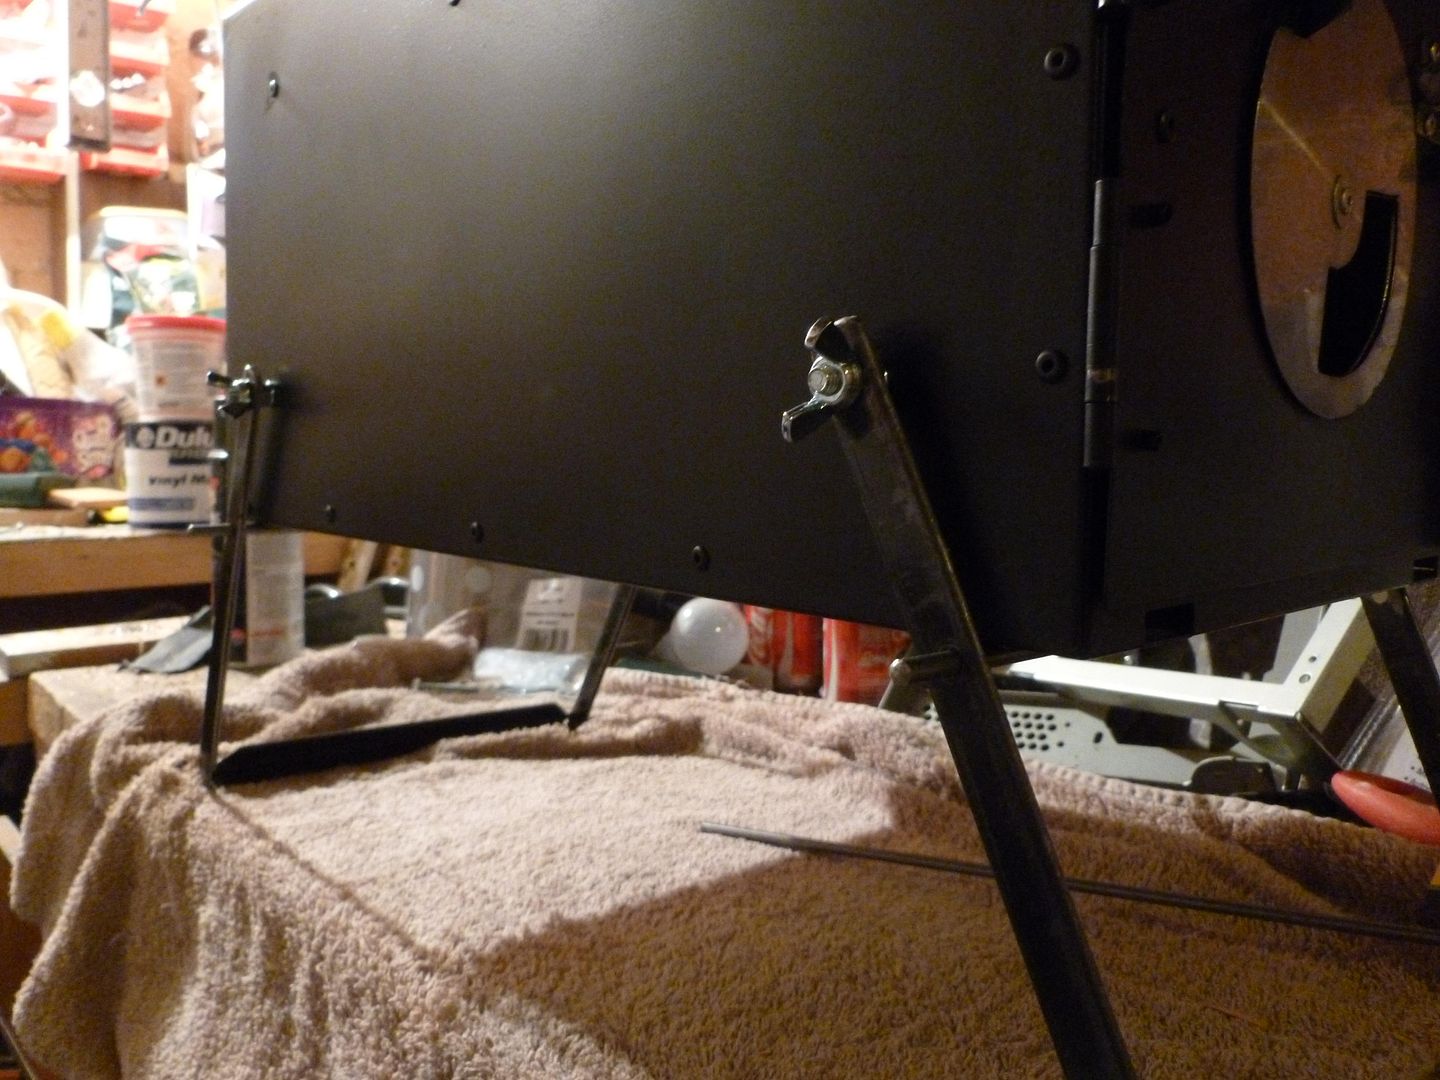
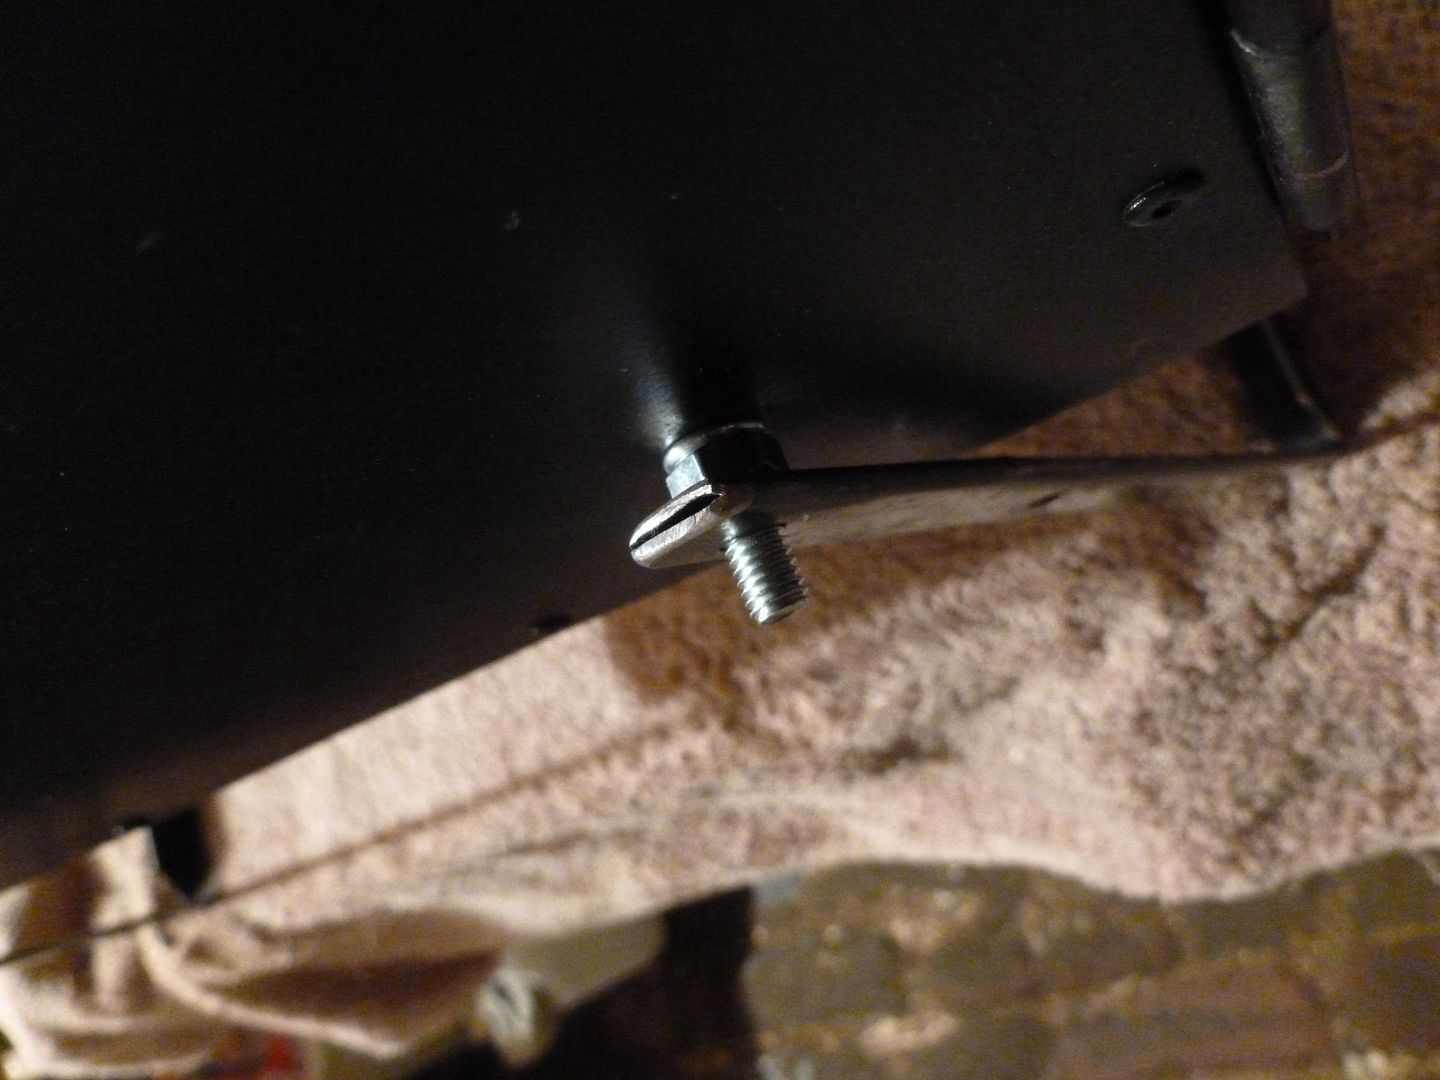
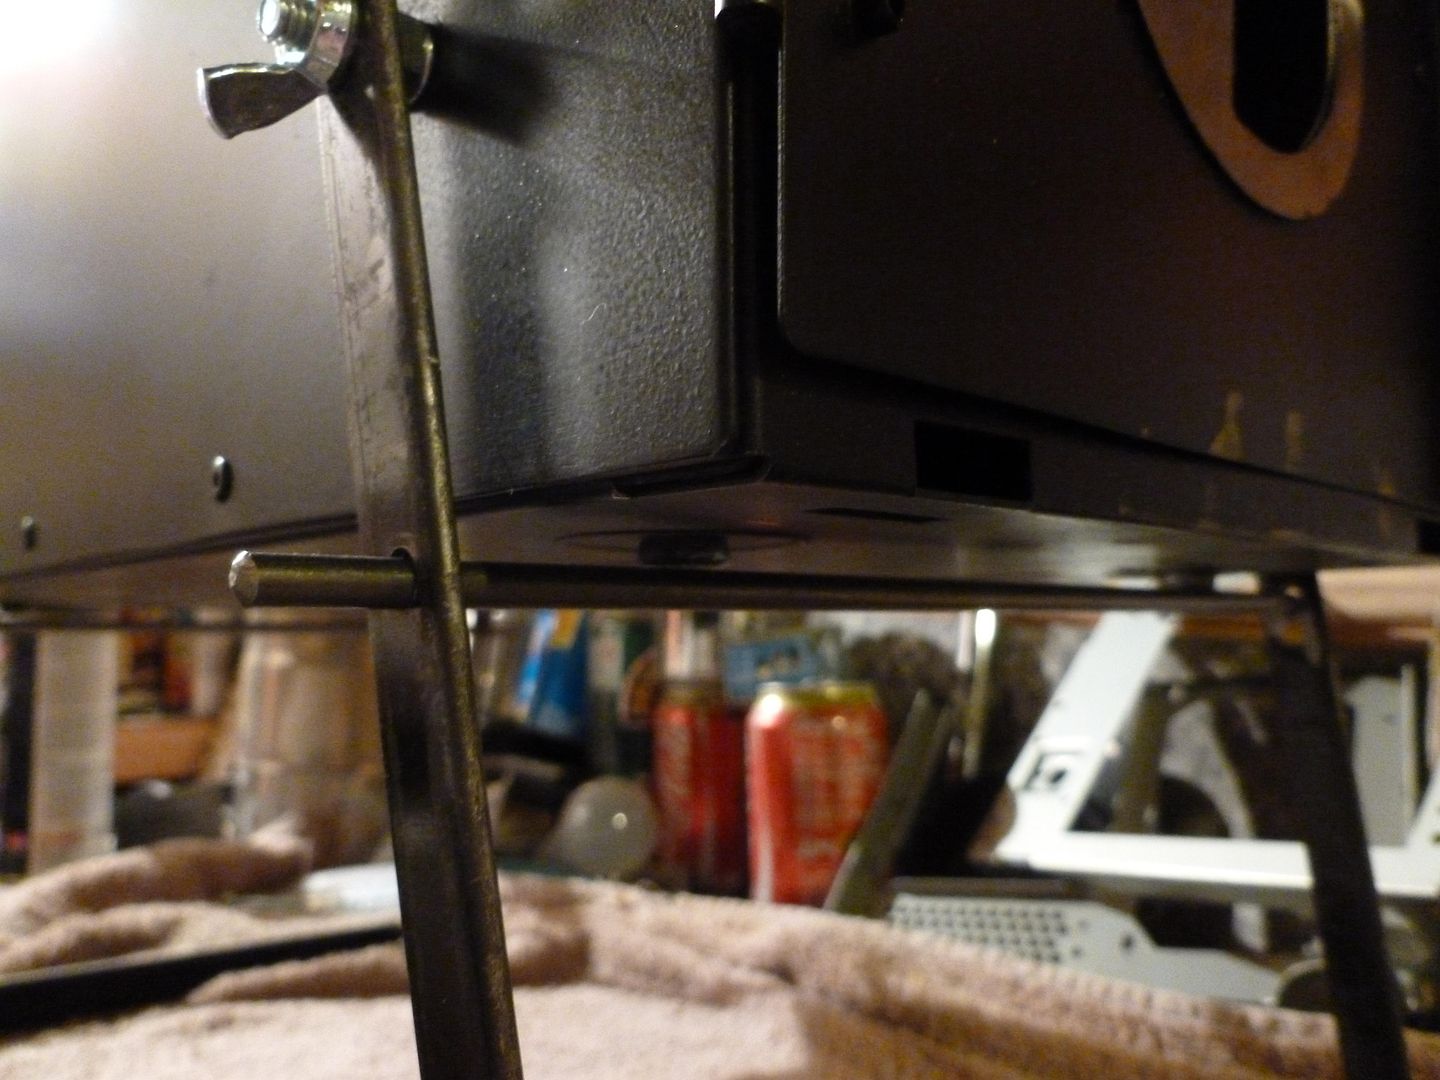
I've done away with the bolts lower down and replaced
with a full length 5mm steel rod, this lets the stove sit much better and more
stable, propped up for photo ..
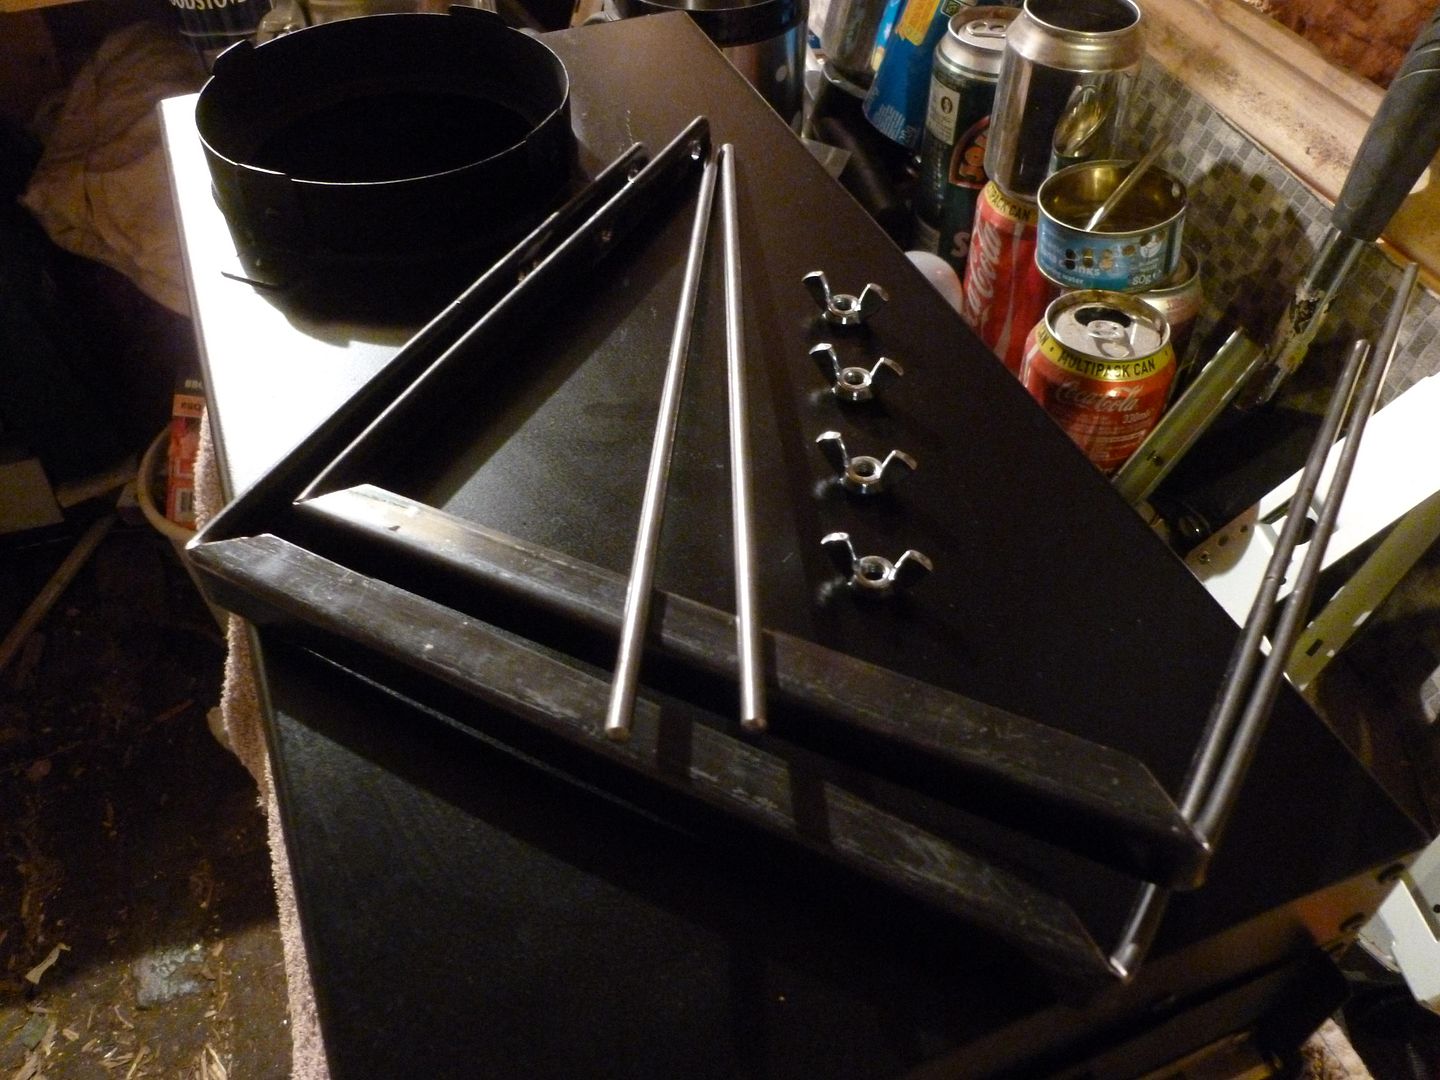
Legs off ready to be packed ..
After the first burn test on Friday night I noticed the
original PC paint was now coming off the case, Nitromors didn't touch it before
so I just left it. Ten minutes with a 80 grit flap wheel in the drill and I was
back to bare metal, I filled in a couple of cracks with high temp silicone and
then gave it another spray. It'll get another burn test then it's getting
packed for a cold camp this weekend :)
Oh yeah, I took an inch off the upright tent poles too,
managing to snap one of the shockcords inside somehow, try as I might I can't
get a new one tied in, ho hum.
I'm not sure how many hours I put into this but it was done within a week, I pottered around for a couple of hours each night I guess.
First outing to follow ..
Any comments always welcome

Any comments always welcome
That is a the neatest thing I have seen made in a while.
ReplyDeleteThanks for the comment, it seemed a shame to take it to the dump
ReplyDeleteWonderful post! Been reading lots about different pc trying to recycle possibilities. Thanks for that information in this article!
ReplyDeletePc Recycle
Fantastic article! Already been reading through a lot concerning different computer system wanting to sell choices. Cheers with the facts in this posting!
ReplyDeletePc Recycle
Glad you found it useful, thanks for the comments
ReplyDeletebest diy stove I've found so far while search the possibility of using old computer case for wood burning stove, how's stove hold lately? I have a exact same case and can't wait to tear it apart.
ReplyDeleteHey what a brilliant post I have come across and believe me I have been searching out for this similar kind of post for past a week and hardly came across this. Thank you very much and will look for more postings from you. Refrigerator Repairs Los Angeles CA
ReplyDeleteI like viewing web sites which comprehend the price of delivering the excellent useful resource free of charge. I truly adored reading your posting. Thank you! CARPINTERIA APPLIANCE REPAIR
ReplyDelete